Video files are enormous. A single minute of 4K footage recorded on a modern smartphone can easily clock in at 400–600 MB, and even a modest 1080p recording can balloon to over 100 MB before you have time to think about sharing it. Whether you are trying to send a video to a client, upload a tutorial to social media, or attach a clip to an email, raw video files almost always need to go on a diet before they are fit for purpose.
The good news is that compressing video has never been more accessible. You do not need to be an engineer or own expensive software to shrink a 2 GB recording down to something manageable — a few well-chosen settings can reduce file size by 60–90% while keeping the image looking sharp enough that most viewers would never notice the difference. This guide walks you through every major method, from browser-based tools to command-line utilities, with specific settings so you know exactly what to dial in.
At a Glance
If you are in a hurry, here is the short version:
Fastest option: Use the video converter at ConvertIntoMP4 — upload your file, pick MP4 as the output, and download your compressed clip in minutes, no software required.
Best free desktop tool: HandBrake with the "Fast 1080p30" preset gets you an excellent quality-to-size ratio for most use cases.
Best format for compression: H.264 (MP4) for broad compatibility; H.265 (HEVC) for 40–50% smaller files where compatibility is not a concern.
Target bitrate rule of thumb: 4–8 Mbps for 1080p video is the sweet spot for most online sharing; 1–2 Mbps works well for 720p social clips.
Never compress a compressed file — always start from the highest-quality source you have.
Workflow overview for how-to-compress-video-online
How Video Compression Works
Understanding the basics of compression will help you make smarter decisions rather than just clicking buttons and hoping for the best. Video compression is fundamentally about removing information your eyes are unlikely to notice — and it does this in two main ways: spatial compression (within each frame) and temporal compression (across frames, keeping only what changes between them).
Codec Basics
A codec is the algorithm that encodes and decodes your video. The codec is the single biggest lever you can pull when compressing video, because modern codecs like H.265 (HEVC) and AV1 are dramatically more efficient than older ones like H.264 or MPEG-4. For a deep dive into how each codec stacks up, the video codecs explained guide covers the landscape in detail. The practical takeaway: H.264 is your safest choice for compatibility across all devices and platforms, while H.265 cuts file sizes by 30–50% more at the same visual quality — if you can tolerate slower encoding times.
Bitrate, Resolution, and Frame Rate
These three settings collectively determine how much data your video stores per second of playback. Bitrate is the most direct control — measured in megabits per second (Mbps), it dictates how much data is allocated to every second of video. Resolution determines the pixel dimensions of each frame, and frame rate (fps) controls how many frames per second are encoded. Cutting your resolution from 4K to 1080p alone reduces the pixel count by 75%, which translates to a dramatic reduction in file size even before you touch the bitrate. Dropping frame rate from 60fps to 30fps similarly cuts the number of frames in half.
Lossy vs. Lossless Compression
Lossy compression — used by H.264, H.265, and virtually every streaming codec — permanently discards some visual data during encoding. The goal is to discard information you are unlikely to perceive: high-frequency detail in complex textures, subtle color gradients in shadows, redundant data between consecutive frames. Lossless compression (used in formats like ProRes and FFV1) preserves every bit of the original but results in files that are far too large for web sharing. For anything destined for email, social media, or the web, lossy compression with well-chosen settings is the right answer. For archival masters you intend to edit again later, lossless or near-lossless formats are worth the storage cost.
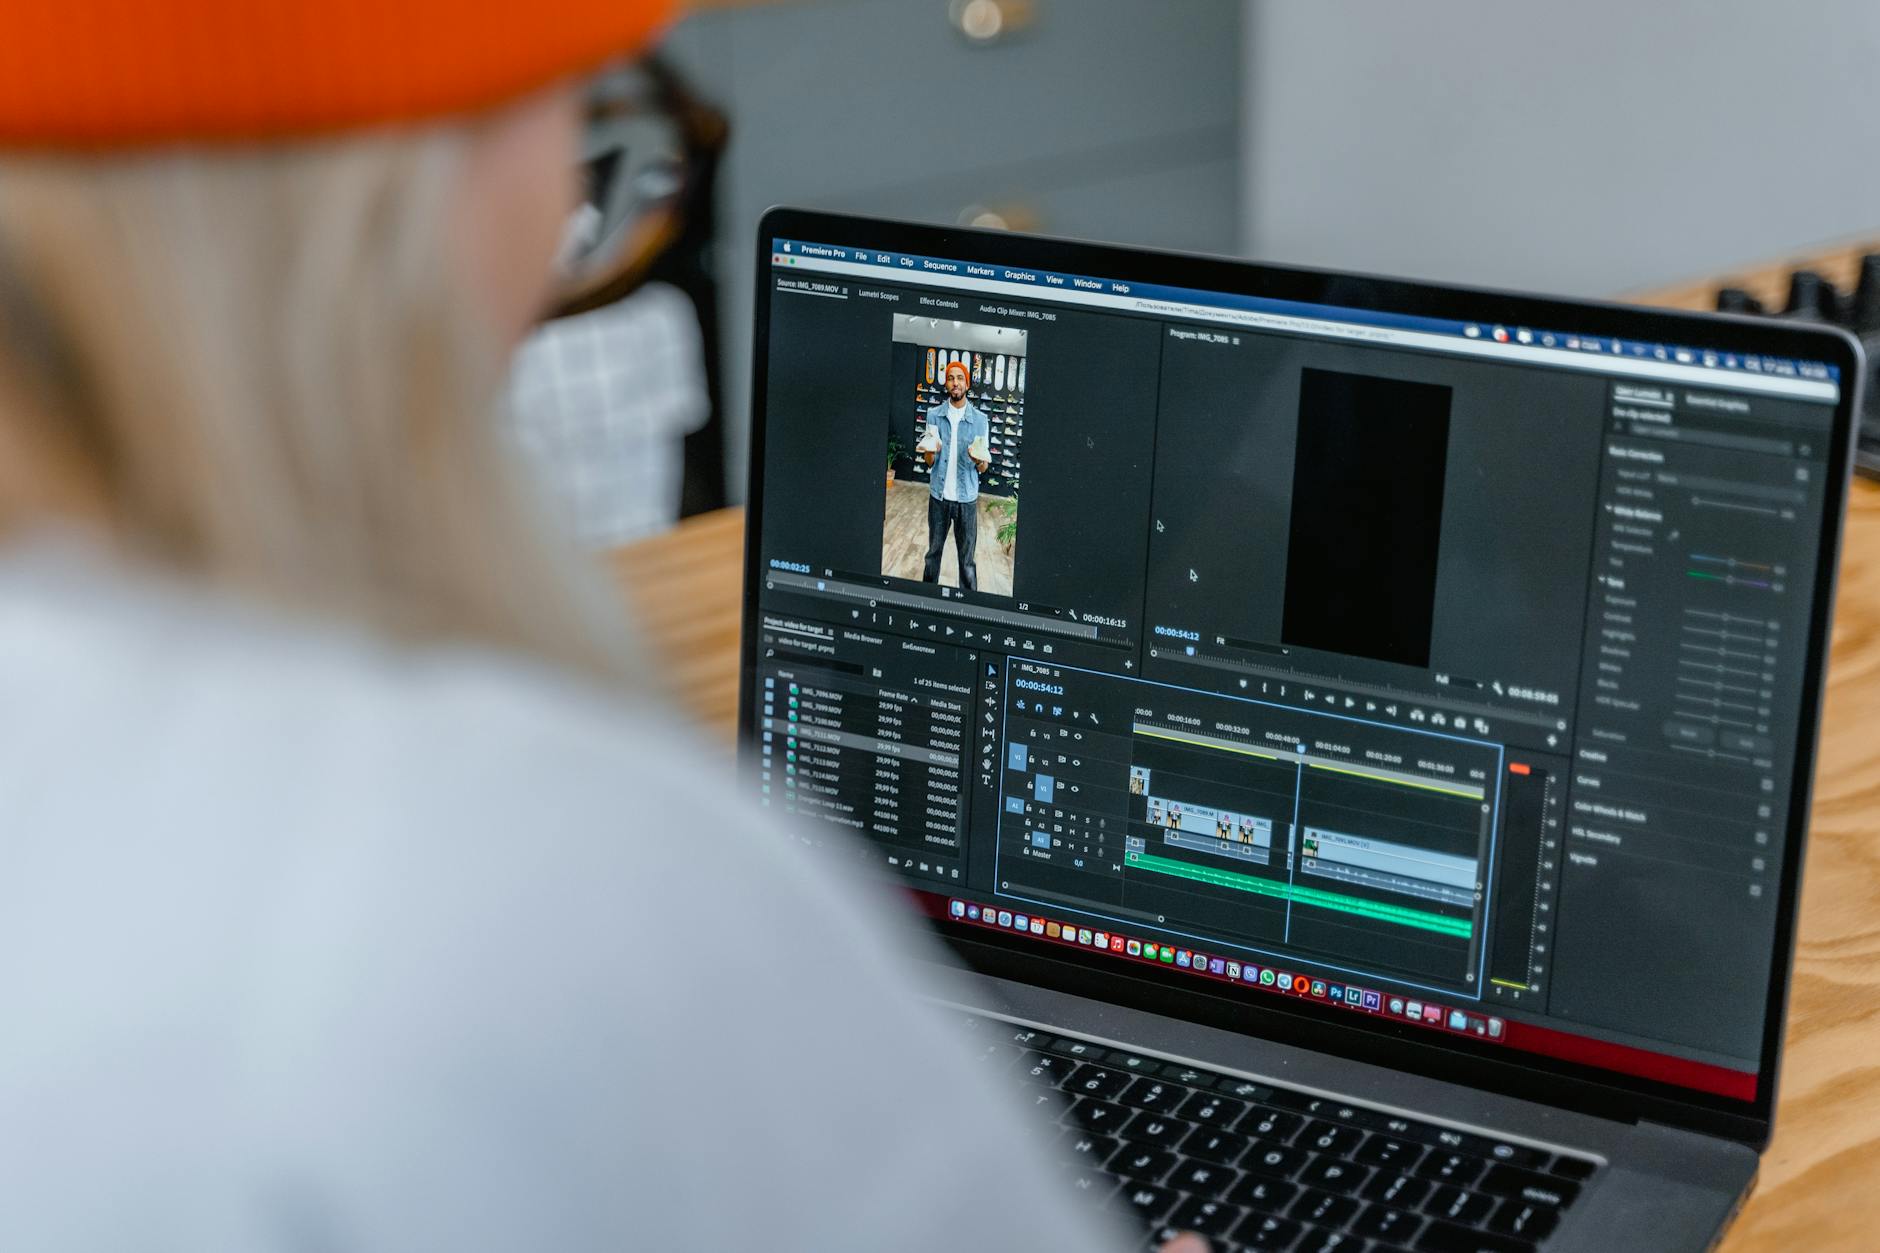
Method 1: Compress Video Online with ConvertIntoMP4
The easiest way to compress a video without installing anything is to use a browser-based video converter. ConvertIntoMP4 handles the heavy lifting on its servers, so you can compress large files even on a low-powered laptop or mobile device. Here is the full walkthrough.
Step-by-Step Walkthrough
Step 1 — Open the converter. Navigate to the video converter and click the upload area or drag your video file directly onto the page. ConvertIntoMP4 accepts virtually every common format including MOV, AVI, MKV, WebM, and MP4 itself.
Step 2 — Select your output format. For maximum compatibility across devices, platforms, and email clients, choose MP4 with the H.264 codec. If you know your audience is on modern devices and you want the smallest possible file, select MP4 with H.265. For web embedding where Chrome and Firefox compatibility is paramount, the WebM converter hub handles WebM output with excellent compression.
Step 3 — Adjust quality settings. Look for the quality slider or CRF (Constant Rate Factor) setting. A CRF of 23 is the H.264 default and produces good quality at reasonable file sizes. Bumping to CRF 28 reduces file size significantly with a small, often imperceptible quality drop. For social media clips that will be re-encoded by the platform anyway, CRF 30–32 is perfectly acceptable.
Step 4 — Set your target resolution. If your source is 4K and you are sharing on Instagram or Twitter, downscaling to 1920×1080 (1080p) is almost always the right call — those platforms cap playback resolution anyway. For email attachments, 1280×720 (720p) at a lower bitrate keeps the file small enough to pass through attachment size limits.
Step 5 — Download and verify. After processing completes, play the downloaded file before sending it anywhere important. Check that audio is in sync, that motion looks smooth, and that text or detail in the frame is legible at the intended viewing size.
Settings Recommendations
For most people, the following settings cover the common use cases:
If you are working with MOV files from an iPhone or Canon camera, the MOV to MP4 converter streamlines the format conversion and compression into a single step.
Step-by-step process for how-to-compress-video-online
Method 2: Using HandBrake (Free Desktop)
HandBrake is the gold standard of free, open-source video compression. It runs on Windows, macOS, and Linux, supports GPU-accelerated encoding on modern hardware, and gives you granular control over every compression parameter. The learning curve is gentle enough for beginners, yet the ceiling is high enough for professional workflows.
Installation
Download HandBrake from handbrake.fr and install it like any other application. No account or license required. The interface looks dense at first glance but you will only need a handful of controls for most compression tasks.
Best Presets for Quality vs. Size
HandBrake ships with excellent built-in presets that cover nearly every scenario. When you open a file, click the "Presets" panel on the right side of the interface and choose from the following:
Fast 1080p30 — The best all-around preset for most users. It encodes in H.264 at a constant quality of RF 22, targets 30fps, and produces files that are significantly smaller than camera originals while looking excellent on any screen up to 1080p. This is the preset to start with unless you have a specific reason to change it.
HQ 1080p30 Surround — Higher quality, larger file, slower encoding. Use this when visual quality is paramount and file size is secondary — for example, a video you intend to keep as a long-term backup or distribute to clients for review.
Fast 720p30 — Ideal for social media clips, messaging apps, and email attachments where a smaller file matters more than pixel density.
H.265 MKV 1080p30 — If your audience is on modern hardware and you want the most aggressive compression, this preset uses H.265 and can cut file size by 40–50% compared to the H.264 equivalent. Encoding is slower, but the quality-per-megabyte is exceptional.
Custom Settings Worth Knowing
Beyond presets, two adjustments make a meaningful difference. First, the RF (Rate Factor) slider — the lower the number, the higher the quality and the larger the file. RF 18–20 is nearly lossless for most content; RF 22 is the default; RF 26–28 is aggressive but acceptable for social clips. Second, the "Encoder Preset" dropdown (not the same as the main Presets panel) controls how hard the encoder works to compress each frame. Choosing "Slow" or "Slower" produces smaller files at the same quality level, at the cost of longer encoding time — worth it for a final export, not worth it for quick tests.
Method 3: Using FFmpeg (Command Line)
FFmpeg is the engine that powers most video software on the planet, including HandBrake, VLC, and dozens of online video converters. Using it directly gives you maximum control and the ability to automate compression tasks with scripts. If command lines feel unfamiliar, skip ahead — but if you are comfortable in a terminal, FFmpeg is an extraordinarily powerful tool.
Installation
On macOS: brew install ffmpeg via Homebrew. On Ubuntu/Debian: sudo apt install ffmpeg. On Windows: download a build from ffmpeg.org and add it to your PATH.
The Essential Compression Command
This single command covers the vast majority of compression needs:
-i input.mp4 — your source file (replace with any format FFmpeg supports: .mov, .avi, .mkv, .webm, etc.)
-c:v libx264 — encode video using the H.264 codec
-crf 28 — quality level; lower numbers = better quality (18 is near-lossless, 28 is noticeably compressed but acceptable for many uses, 32+ starts to look rough)
-preset slow — more time spent analyzing the video = smaller output file at the same CRF value; options range from ultrafast to veryslow
-c:a aac — encode audio using AAC
-b:a 128k — audio bitrate of 128 kbps (use 96k for speech-only content, 192k for music-heavy videos)
If you are on a Mac and need a quick, no-frills compression without installing anything, QuickTime Player's built-in export feature is surprisingly capable. It is not the most powerful option, but it is always available and produces clean H.264 output that works everywhere.
How to Compress with QuickTime
Open your video in QuickTime Player by double-clicking it. Go to File > Export As and you will see a list of resolution options: 4K, 1080p, 720p, 480p, and Audio Only. Select the resolution that matches your intended use case — 720p for email and messaging, 1080p for most social media and web purposes. QuickTime will handle all the codec settings automatically, targeting a balance between quality and file size that is appropriate for the selected resolution.
One limitation to be aware of: QuickTime does not expose bitrate or quality settings, so you cannot fine-tune the output the way you can with HandBrake or FFmpeg. For most casual use this is fine, but if you need precise control over file size — for example, to hit a specific platform upload limit — one of the other methods gives you more predictable results. Also note that QuickTime only exports in MOV or MP4 format; if you need WebM or another format, you will need a different tool.
Compression Settings Guide
Use this table as a quick reference when deciding what settings to apply for different destinations. The file sizes are approximate and will vary depending on your source footage's complexity and motion.
Use Case
Resolution
Target Bitrate
Codec
Approx. File Size (per min)
Notes
Email attachment
720p (1280×720)
1–2 Mbps
H.264
8–15 MB
Stay under 25 MB total for Gmail/Outlook
WhatsApp / iMessage
720p (1280×720)
1–1.5 Mbps
H.264
8–12 MB
WhatsApp re-encodes on receipt; keep it small
Instagram Reels
1080p (1080×1920)
3–5 Mbps
H.264
22–38 MB
Vertical 9:16 aspect; Instagram re-encodes
Twitter / X
1080p (1920×1080)
4–6 Mbps
H.264
30–45 MB
Max 512 MB; under 140s preferred
YouTube upload
1080p or 4K
8–35 Mbps
H.264 or H.265
60–260 MB
YouTube re-encodes; upload as high quality as practical
Web embed (self-hosted)
1080p (1920×1080)
4–8 Mbps
H.264 or H.265
30–60 MB
H.265 cuts size 40% if browser support is acceptable
Archival / backup
4K (3840×2160)
35–80 Mbps
H.265 or ProRes
260–600 MB
Prioritize quality over size for source files
Presentation / slideshow
720p (1280×720)
1.5–3 Mbps
H.264
12–22 MB
Smooth motion more important than fine detail
Platform-Specific File Size Limits
Every platform imposes its own limits, and exceeding them usually results in an automatic rejection, heavy re-encoding, or silent quality degradation. Knowing the exact limits before you compress means you only have to export once.
Platform / Service
Max File Size
Max Duration
Recommended Resolution
Notes
Gmail
25 MB
—
720p
Use Google Drive link for larger files
Outlook / Office 365
20–100 MB
—
720p
Limit varies by organization IT policy
Yahoo Mail
25 MB
—
720p
WhatsApp
16 MB
—
720p
Video is always re-encoded on delivery
Telegram
2 GB
—
Up to 4K
Most permissive messaging platform
iMessage (over cellular)
~3.5 MB
—
480–720p
iOS compresses automatically if too large
Instagram Feed
100 MB
60s
1080p
Recommends H.264, .MP4, square or portrait
Instagram Reels
1 GB
15 min
1080p vertical
TikTok
287.6 MB (iOS) / 500 MB (Android)
10 min
1080p vertical
H.264 or H.265 accepted
Twitter / X
512 MB
2 min 20s
Up to 1920×1200
MP4 or MOV required
YouTube
256 GB
12 hours (verified)
Up to 8K
Re-encodes everything; upload highest quality
LinkedIn
5 GB
10 min
Up to 4K
MP4 preferred
Facebook
10 GB
4 hours
Up to 4K
Re-encodes; upload highest quality available
Slack
1 GB (paid) / 5 MB (free)
—
720p
Free tier is very restrictive
Discord
8 MB (free) / 500 MB (Nitro)
—
720p
Free tier requires aggressive compression
Quality vs. Size: Finding the Sweet Spot
The relationship between quality and file size is not linear — most of the perceptible quality lives in the upper portion of the bitrate range, and the last bits of "perfect" quality cost a disproportionately large amount of storage. This is why going from 20 Mbps to 10 Mbps often looks almost identical, while going from 2 Mbps to 1 Mbps produces a visible quality drop.
The key insight is that the right bitrate depends on your content. A talking-head interview with a static background needs far less bitrate than a fast-moving sports highlight or a nature documentary with complex textures and motion. When in doubt, use Constant Rate Factor (CRF) encoding rather than targeting a specific bitrate — CRF lets the encoder allocate more bits to complex scenes and fewer bits to simple ones, producing better overall quality at the same average file size. You can explore how different formats handle this trade-off in the best video formats 2024 overview.
Pro Tip: Always preview your compressed video at 100% zoom before sending it anywhere. Compression artifacts that are invisible on a phone screen can be obvious on a large monitor, and it is much easier to re-export with better settings than to ask a recipient to disregard a poor-quality clip.
Pro Tip: If you are compressing a video that will be uploaded to a platform that re-encodes (YouTube, Instagram, TikTok, Facebook), there is no benefit to compressing aggressively before upload. These platforms run their own compression pass regardless of what you send them. Upload the highest quality you can — ideally 1080p or 4K at 10–20 Mbps — so the platform's encoder has more information to work with and the final result looks better.
Pro Tip: Two-pass encoding (available in HandBrake and FFmpeg) produces better quality than single-pass encoding at the same file size. It takes roughly twice as long but is worth it for final exports. In FFmpeg, add -pass 1 and -pass 2 flags; in HandBrake, check the "2-Pass Encoding" box in the Video tab.
For a thorough breakdown of the visual quality differences at various compression levels, the how to compress video without losing quality guide goes deeper into perceptual quality metrics and how to evaluate compressed output objectively.
Key takeaways for how-to-compress-video-online
Frequently Asked Questions
How much can I compress a video?
The amount you can compress a video depends on your starting format and how much quality loss you are willing to accept. In practical terms, most raw or lightly compressed footage can be reduced by 60–90% in file size with minimal perceptible quality loss using modern codecs. A 1 GB MOV file from an iPhone, for example, can typically be compressed to 100–200 MB at 1080p/H.264 with barely any visible difference, and to 50–100 MB with H.265. The more motion, detail, and color complexity in your footage, the less aggressively you can compress before artifacts become noticeable.
Does compressing a video reduce quality?
Yes, lossy compression always involves some quality reduction — but whether that reduction is perceptible is a different question. Modern compression codecs are extraordinarily good at discarding visual information your eyes are unlikely to notice: redundant data between similar frames, high-frequency noise in flat areas, subtle color variations in shadows. At moderate compression levels (H.264 CRF 23–26), most viewers cannot distinguish a compressed video from the original when watching on a phone or standard monitor. Quality reduction becomes visible at high CRF values (28+), very low bitrates (under 1 Mbps for 1080p), or when the same footage is compressed multiple times in succession.
What is the best format for compressed video?
For maximum compatibility — sharing across devices, platforms, email clients, and web browsers — MP4 with H.264 video and AAC audio is the clear winner. Nearly every device made in the last decade can play it without any additional software. If compatibility is not a concern and you want the smallest possible files, H.265 (HEVC) in an MP4 container offers 40–50% better compression than H.264 at the same visual quality. For web-only distribution where you control the player, AV1 delivers even better compression than H.265, though encoding is significantly slower. The best video format for social media 2026 guide covers platform-specific format recommendations in depth.
How do I compress a video for email?
Start with a target file size below 20–25 MB, since most email providers cap attachments around that range (Gmail is 25 MB, Outlook is often lower depending on organizational settings). To hit that target, encode in H.264, scale your video down to 720p (1280×720) if it is currently larger, and use a CRF of 28–30. For a one-minute clip, this typically produces a file in the 8–15 MB range. If your video is longer or the 20 MB limit is still too tight, use a cloud sharing link (Google Drive, Dropbox, WeTransfer) instead of an attachment and include the link in the body of your email. This avoids the attachment limit entirely and lets the recipient stream or download at their convenience.
Can I compress 4K video without losing quality?
You can compress 4K video significantly while preserving nearly all the perceptible quality — but you cannot compress it completely without any quality loss, because all lossy compression discards some data. The practical answer is: yes, you can compress 4K footage from 300–400 Mbps (typical camera raw) down to 20–35 Mbps using H.265 and have a result that looks identical to the original on any consumer display. Going further — say, 8–12 Mbps for a 4K file — will introduce artifacts visible on large screens. If your end destination is 4K, use H.265 at 20–35 Mbps. If your end destination is a platform that caps at 1080p anyway, scale down to 1080p during compression and you will get far smaller files without any meaningful quality penalty at the intended playback resolution.
Why is my compressed video blurry?
Blurry compressed video is almost always caused by one of three things. First, and most commonly, the bitrate is too low for the resolution — at 1080p, anything below about 2 Mbps will look noticeably soft, especially in motion. Second, you may have applied a deinterlacing or scaling filter that blurred the frame during processing — check that your export settings are not changing the resolution or applying filters you did not intend. Third, if the source footage was already compressed (downloaded from the web, captured in a low-quality mode), starting from a degraded source guarantees a degraded output. The solution in the first case is to increase your bitrate or lower your resolution so the bitrate you have is sufficient for the pixel count. The solution in the third case is to always work from the highest-quality source available.
Is there a difference between compressing and converting a video?
Compressing and converting are related but distinct operations. Converting means changing the container format (like MOV to MP4) or the codec (like H.264 to H.265), which may or may not change the file size significantly. Compressing means specifically reducing file size, usually by lowering bitrate, resolution, or quality settings. In practice, most tools — including the MP4 converter hub — let you do both simultaneously: convert the format while also applying compression settings to reduce the file size. The important thing to remember is that any time you transcode (decode and re-encode) a video, some quality is lost, so it is always better to transcode once from the best-quality source rather than compressing an already-compressed file.
Conclusion
Video compression is one of those skills that pays dividends every time you touch a video file — and in 2026, there is no excuse for sending someone a 2 GB raw file when the same footage, compressed thoughtfully, could be a fraction of the size with no visible quality difference. The four methods covered in this guide each have their place: browser-based tools for convenience, HandBrake for desktop power users, FFmpeg for automation and scripting, and QuickTime for quick Mac exports.
The universal principles that apply regardless of which tool you choose: always start from your highest-quality source, choose H.264 for compatibility or H.265 for size, use CRF-based quality encoding rather than fixed bitrates where possible, and always preview before sending.
Ready to compress your first video? The video converter at ConvertIntoMP4 is the fastest way to get started — no installation, no account required, and no file format left behind. Upload your video, pick your settings, and download a compressed version in minutes.