How to Convert Audio for Podcasts: Format, Bitrate, and Specs
Learn exact podcast audio requirements for Apple Podcasts, Spotify, and Google Podcasts. Master format selection, bitrate settings, mono vs stereo, loudness normalization (LUFS), and chapter markers.
Publishing a podcast requires getting the audio format right. Not "approximately right" — exactly right. Upload an episode in the wrong format and Apple Podcasts rejects it. Use the wrong bitrate and your episodes sound tinny or consume unnecessary bandwidth. Skip loudness normalization and your podcast sounds dramatically louder or quieter than everything else in a listener's queue. Use stereo for a solo spoken-word show and you double your file sizes for zero benefit.
Every podcast hosting platform and directory has specific technical requirements. These requirements overlap significantly, but the details differ in ways that matter. This guide provides exact specifications for every major platform, clear recommendations for format and bitrate selection, a complete walkthrough of loudness normalization, and practical FFmpeg commands for every step of the podcast audio workflow.
If you are looking for broader audio format recommendations, our best audio format for podcasts guide covers format selection in depth. This guide focuses on the conversion and export process — taking your edited audio and producing files that meet platform specifications.
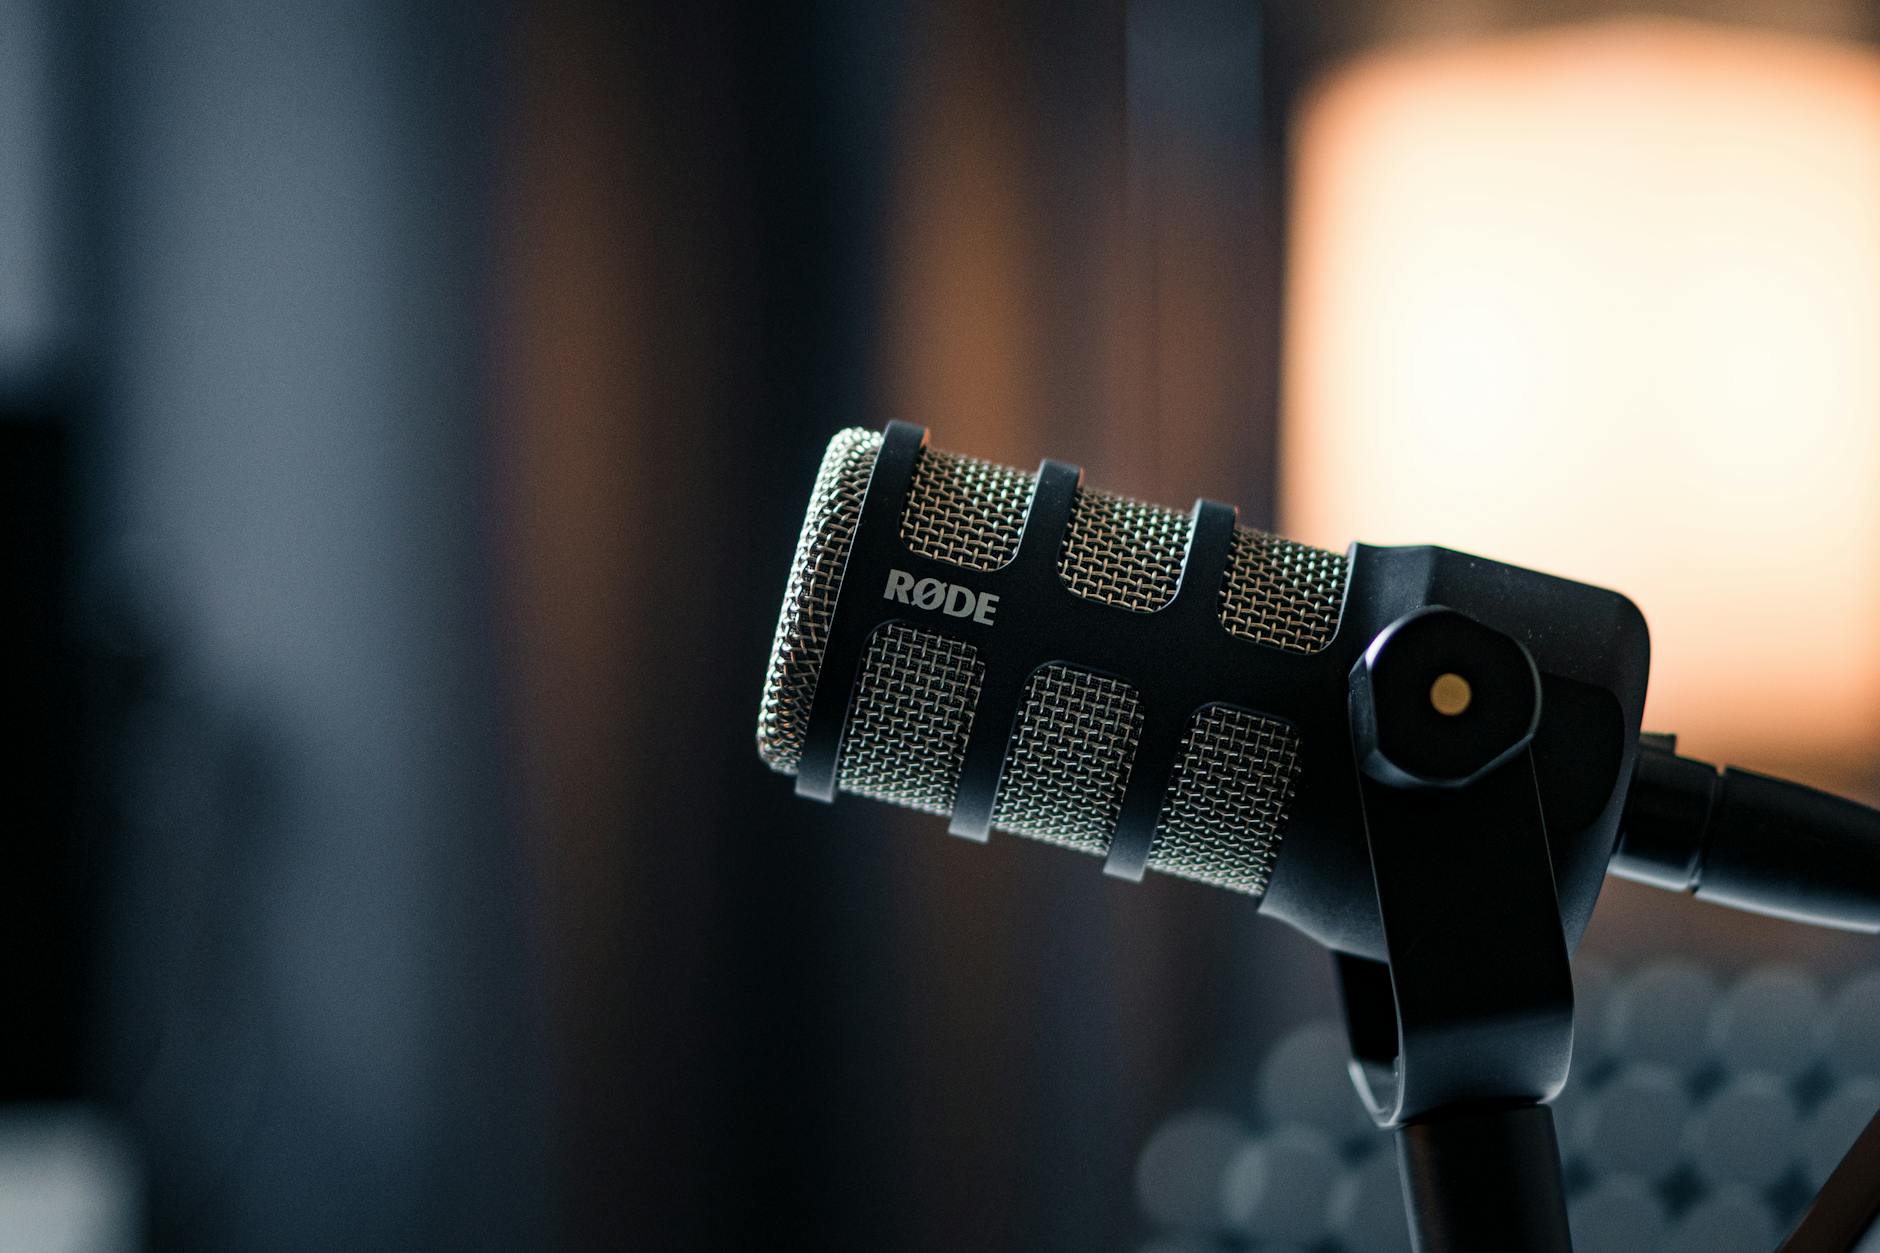
Podcast audio workflow from recording to platform submission
Platform Requirements at a Glance
Every podcast distribution platform publishes technical requirements for submitted audio. Here are the current specifications:
Requirement
Apple Podcasts
Spotify
YouTube Music
Amazon Music
Google Podcasts
Audio format
MP3 or AAC
MP3, AAC, OGG, FLAC
MP3 or AAC
MP3 or AAC
MP3 or AAC
Recommended format
MP3
MP3
MP3
MP3
MP3
Sample rate
44.1 kHz
44.1 or 48 kHz
44.1 or 48 kHz
44.1 kHz
44.1 kHz
Bitrate (mono speech)
64-96 kbps
96-128 kbps
128 kbps
128 kbps
128 kbps
Bitrate (stereo)
128-160 kbps
128-256 kbps
128-256 kbps
128-256 kbps
128-256 kbps
Max file size
200 MB
200 MB
No stated limit
200 MB
No stated limit
Max duration
No stated limit
No stated limit
No stated limit
No stated limit
No stated limit
Chapter markers
Yes (MP3 ID3, M4A)
Yes (since 2024)
No
No
No
Loudness target
-16 LUFS (stereo), -19 LUFS (mono)
-14 LUFS
-14 LUFS
-16 LUFS
-16 LUFS
The safe common denominator across all platforms: MP3, 128 kbps, 44.1 kHz, mono for solo speech or stereo for multi-host/music-heavy content.
Pro Tip: MP3 at 128 kbps mono produces a 1-hour episode at approximately 56 MB — well within all platform limits and small enough for listeners on limited data plans. Unless your podcast features music or spatial audio effects that benefit from stereo, mono is the professional standard for spoken-word content.
Mono vs Stereo for Podcasts
This is one of the most impactful decisions for podcast audio, and many podcasters get it wrong.
When to Use Mono
Use mono for:
Solo shows (one host, one microphone)
Interview shows (two people in conversation)
Most narrative podcasts
Audiobook-style content
Any show that is primarily spoken word
When to Use Stereo
Use stereo for:
Podcasts with significant music content
Audio dramas with spatial sound design
Shows featuring binaural recordings
Live concert or event recordings
Shows where panning is used as a creative element
Why Mono Is Better for Most Podcasts
Factor
Mono
Stereo
File size (128 kbps, 1 hour)
56 MB
56 MB (but needs higher bitrate)
Effective quality at 128 kbps
Excellent for speech
Good but not optimal
Recommended bitrate for speech
64-128 kbps
128-192 kbps
File size at recommended bitrate (1 hour)
28-56 MB
56-84 MB
Listener experience (earbuds, one ear)
Full content in each ear
Content split between ears
Speaker in car
Full content from all speakers
Identical content from all speakers
Per-channel bitrate allocation
128 kbps for one channel
64 kbps per channel at 128 kbps
The critical point: when you encode stereo speech at 128 kbps, each channel gets only 64 kbps — the same bitrate that sounds acceptable in mono but produces noticeable artifacts in stereo because the encoder has less data per channel. To maintain the same per-channel quality in stereo, you need 256 kbps — doubling file size for zero benefit when the content is identical in both channels.
Converting Stereo to Mono
# Convert stereo to mono
ffmpeg -i stereo_episode.wav -ac 1 mono_episode.wav

# Convert and export to MP3 in one step
ffmpeg -i stereo_episode.wav -ac 1 -c:a libmp3lame -b:a 128k episode.mp3
Loudness Normalization (LUFS)
Loudness normalization is what makes your podcast sound professional. Without it, your episodes will be jarring — either way too loud or too quiet compared to the other podcasts in a listener's queue.
What Is LUFS
LUFS (Loudness Units relative to Full Scale) is the broadcast standard for measuring perceived loudness. Unlike peak levels or RMS, LUFS accounts for how human hearing perceives loudness across different frequencies. A reading of -16 LUFS means the audio is 16 LUFS below digital full scale.
Target Levels
Measurement
Podcast Standard
Broadcast Standard
Integrated Loudness
-16 LUFS (stereo) / -19 LUFS (mono)
-23 LUFS (EBU R128)
True Peak
-1.0 dBTP
-1.0 dBTP
Loudness Range (LRA)
5-15 LU
<15 LU
Apple Podcasts recommends -16 LUFS for stereo content. Spotify normalizes to -14 LUFS. The -16 LUFS target is the most widely cited podcast standard and works well across all platforms — Spotify will turn your audio up slightly rather than applying heavy compression.
Measuring Loudness
Before normalizing, measure your current loudness:
This outputs integrated loudness (LUFS), true peak (dBTP), and loudness range (LU). If your integrated loudness is already within 1-2 LUFS of your target, you may not need to normalize.
Two-Pass Loudness Normalization
FFmpeg's loudnorm filter supports a two-pass mode for the highest quality normalization:
This analyzes the entire file and applies normalization in one pass. The result is slightly less precise than two-pass but entirely adequate for podcast distribution.
Audio waveform showing before and after loudness normalization
Complete Podcast Export Workflow
Here is the complete workflow from edited audio to platform-ready MP3:
Pro Tip: Always do loudness normalization on the uncompressed WAV before encoding to MP3. Normalizing an MP3 file requires decoding, processing, and re-encoding — each MP3 encode cycle introduces additional generation loss. Process the lossless file first, then encode to MP3 once as the final step.
Adding Chapter Markers
Chapter markers let listeners jump to specific sections of your episode. Apple Podcasts has supported chapters for years, and Spotify added support in 2024.
MP3 Chapter Markers (ID3 CHAP)
MP3 chapters use the ID3v2 CHAP frame. FFmpeg does not natively write chapter markers to MP3, but you can use tools like mp3chaps or write chapters during encoding from a properly structured input:
# Using ffmpeg with chapter metadata from an input file
# First, create a metadata file (chapters.txt):
;FFMETADATA1
[CHAPTER]
TIMEBASE=1/1000
START=0
END=180000
title=Introduction

[CHAPTER]
TIMEBASE=1/1000
START=180000
END=900000
title=Main Interview

[CHAPTER]
TIMEBASE=1/1000
START=900000
END=1500000
title=Rapid Fire Questions

[CHAPTER]
TIMEBASE=1/1000
START=1500000
END=1800000
title=Closing Thoughts
The safe choice: 3000x3000 JPEG, square, under 500 KB. This meets all platform requirements.
Batch Processing Episodes
If you are converting an entire back catalog or processing multiple episodes at once:
#!/bin/bash
# Batch convert all WAV episodes to podcast-ready MP3
for wav in episodes/*.wav; do
  filename=$(basename "$wav" .wav)
  ffmpeg -i "$wav" \
    -af "loudnorm=I=-16:TP=-1.0:LRA=11" \
    -ac 1 -ar 44100 \
    -c:a libmp3lame -b:a 128k \
    "output/${filename}.mp3"
done
For large batch operations, our audio converter handles multiple file uploads with consistent settings. See our batch processing guide for more workflow strategies.
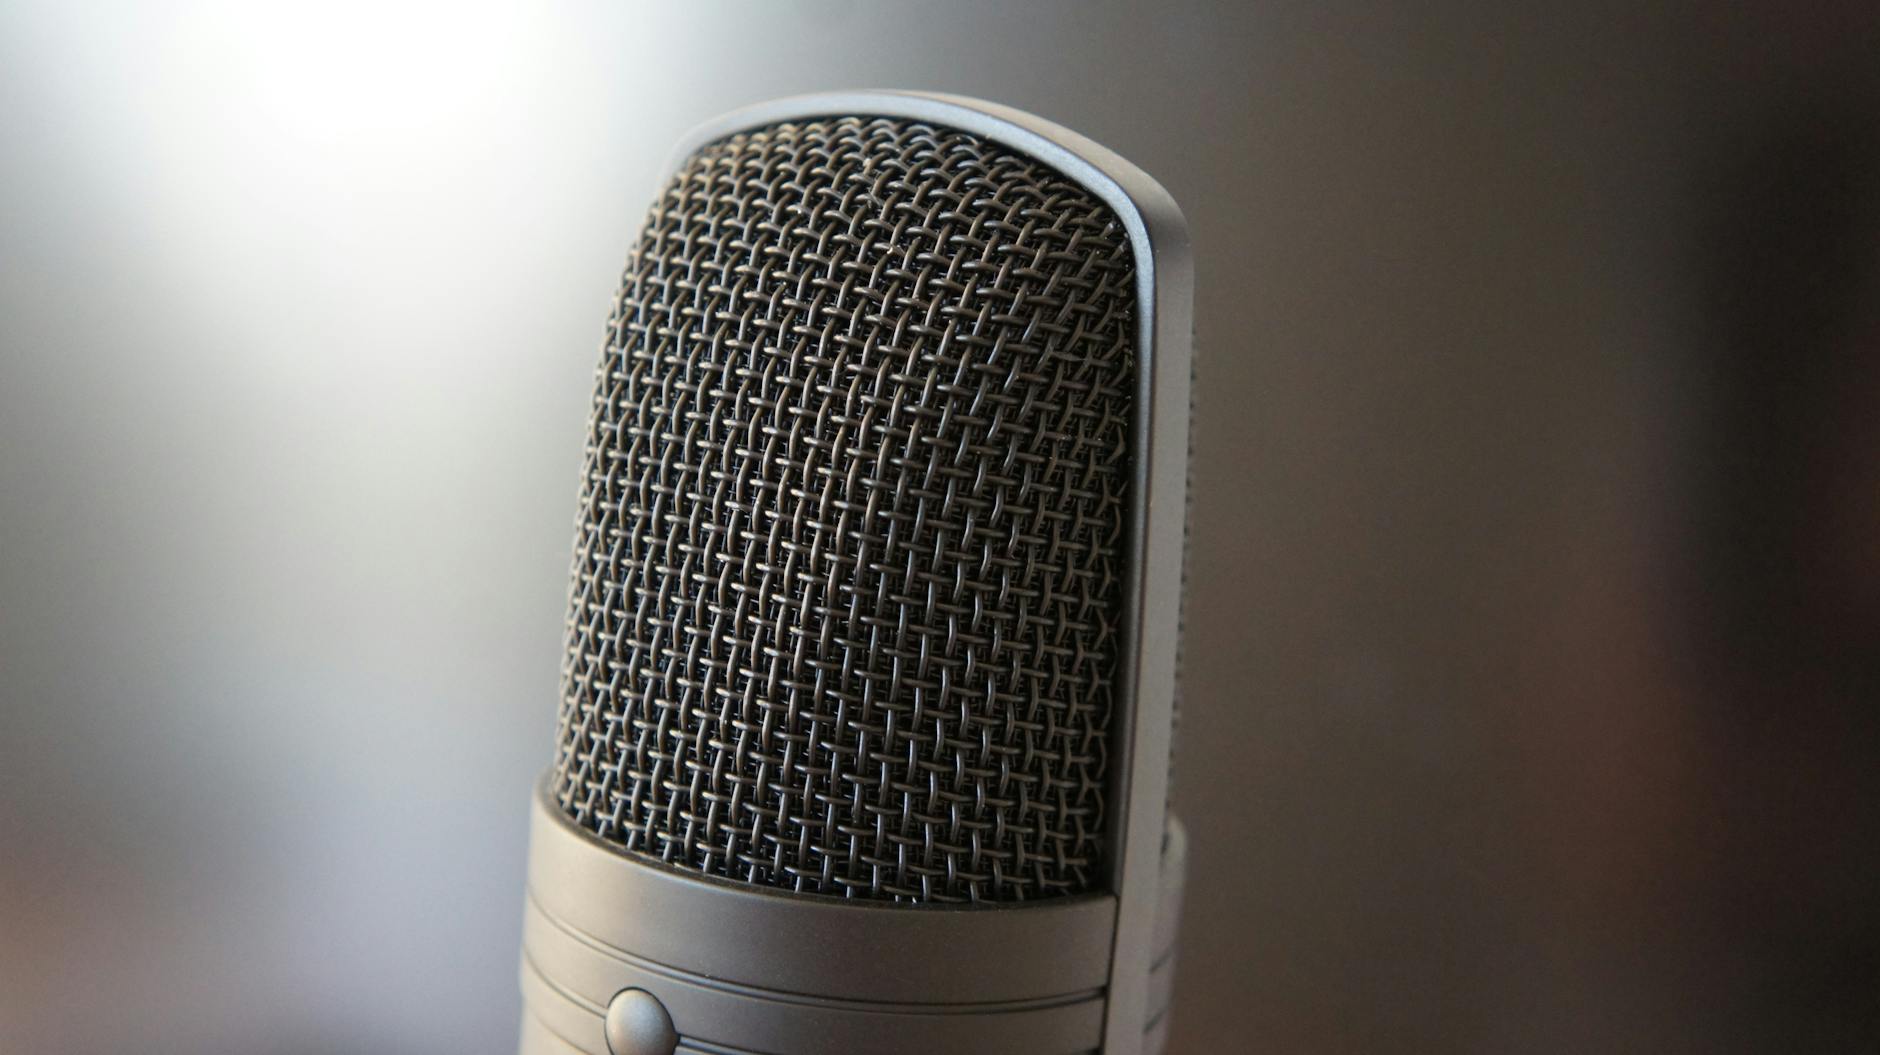
Podcast platform submission interface with audio specs highlighted
Converting from Video to Podcast Audio
Many podcasters record video versions for YouTube and extract audio for podcast distribution. This is a straightforward extraction:
# Extract audio from video, normalize, and export as podcast MP3
ffmpeg -i video_episode.mp4 -vn \
  -af "loudnorm=I=-16:TP=-1.0:LRA=11" \
  -ac 1 -ar 44100 \
  -c:a libmp3lame -b:a 128k \
  podcast_episode.mp3
If the video was recorded at 48 kHz (standard for video), this command resamples to 44.1 kHz (standard for podcast audio). The quality difference is inaudible for speech content.
Your loudness is below -16 LUFS. Apply loudness normalization as described above. Measure first, then normalize to -16 LUFS integrated with -1.0 dBTP true peak.
Episode Sounds Distorted or Clipped
True peak levels are exceeding 0 dBTP. The loudnorm filter with TP=-1.0 prevents this, but if your source audio is already clipped, you need to fix the recording — normalization cannot repair distortion that already occurred.
Then normalize and export as usual. For severe noise issues, dedicated tools like iZotope RX or Audacity's noise reduction produce better results than FFmpeg's built-in filters.
File Size Too Large
If your episode exceeds platform limits (200 MB for most):
Switch to mono if currently stereo (halves effective bitrate needs)
Reduce bitrate from 192 to 128 kbps
For very long episodes (3+ hours), 96 kbps mono is acceptable for speech
A 3-hour mono episode at 96 kbps is approximately 126 MB — well within limits.
Inconsistent Volume Between Segments
If your episode has interview segments at different levels, apply compression before normalization:
The compressor reduces the dynamic range (making quiet parts louder and loud parts quieter) before loudness normalization brings everything to the target level.
Quality Checklist Before Publishing
Before uploading your episode to your hosting platform, verify:
Format is MP3 (128 kbps mono for speech, 192 kbps stereo for music-heavy)
Sample rate is 44.1 kHz
Loudness is -16 LUFS integrated (measure with ffmpeg -af loudnorm=print_format=summary)
True peak is below -1.0 dBTP
No clipping or distortion in the audio
Metadata includes episode title, show name, and episode number
Cover art is embedded (3000x3000 JPEG, square)
File size is under 200 MB
Chapter markers are included (if supported by your hosting platform)
Audio starts cleanly (no dead air or microphone bumps at the beginning)