How to Remove Image Background: Free Online Methods
Learn how to remove image backgrounds using free online tools, AI-powered methods, and manual techniques. Covers product photography, portraits, logos, and batch processing with step-by-step instructions.
Background removal is one of the most common image editing tasks across industries. E-commerce sellers need product images on white or transparent backgrounds. Designers need cutout elements for compositions. Marketers need headshots on brand-colored backgrounds. Social media creators need stickers and overlays. Passport and visa photos require specific background colors.
What used to require hours of painstaking manual work in Photoshop can now be accomplished in seconds using AI-powered tools. Modern background removal algorithms, trained on millions of images, can identify subjects with remarkable precision -- handling hair strands, transparent objects, and complex edges that would challenge even skilled editors.
This guide covers every method for removing image backgrounds, from free online tools to programmatic approaches, with specific guidance for different use cases like product photography, portraits, logos, and batch processing.
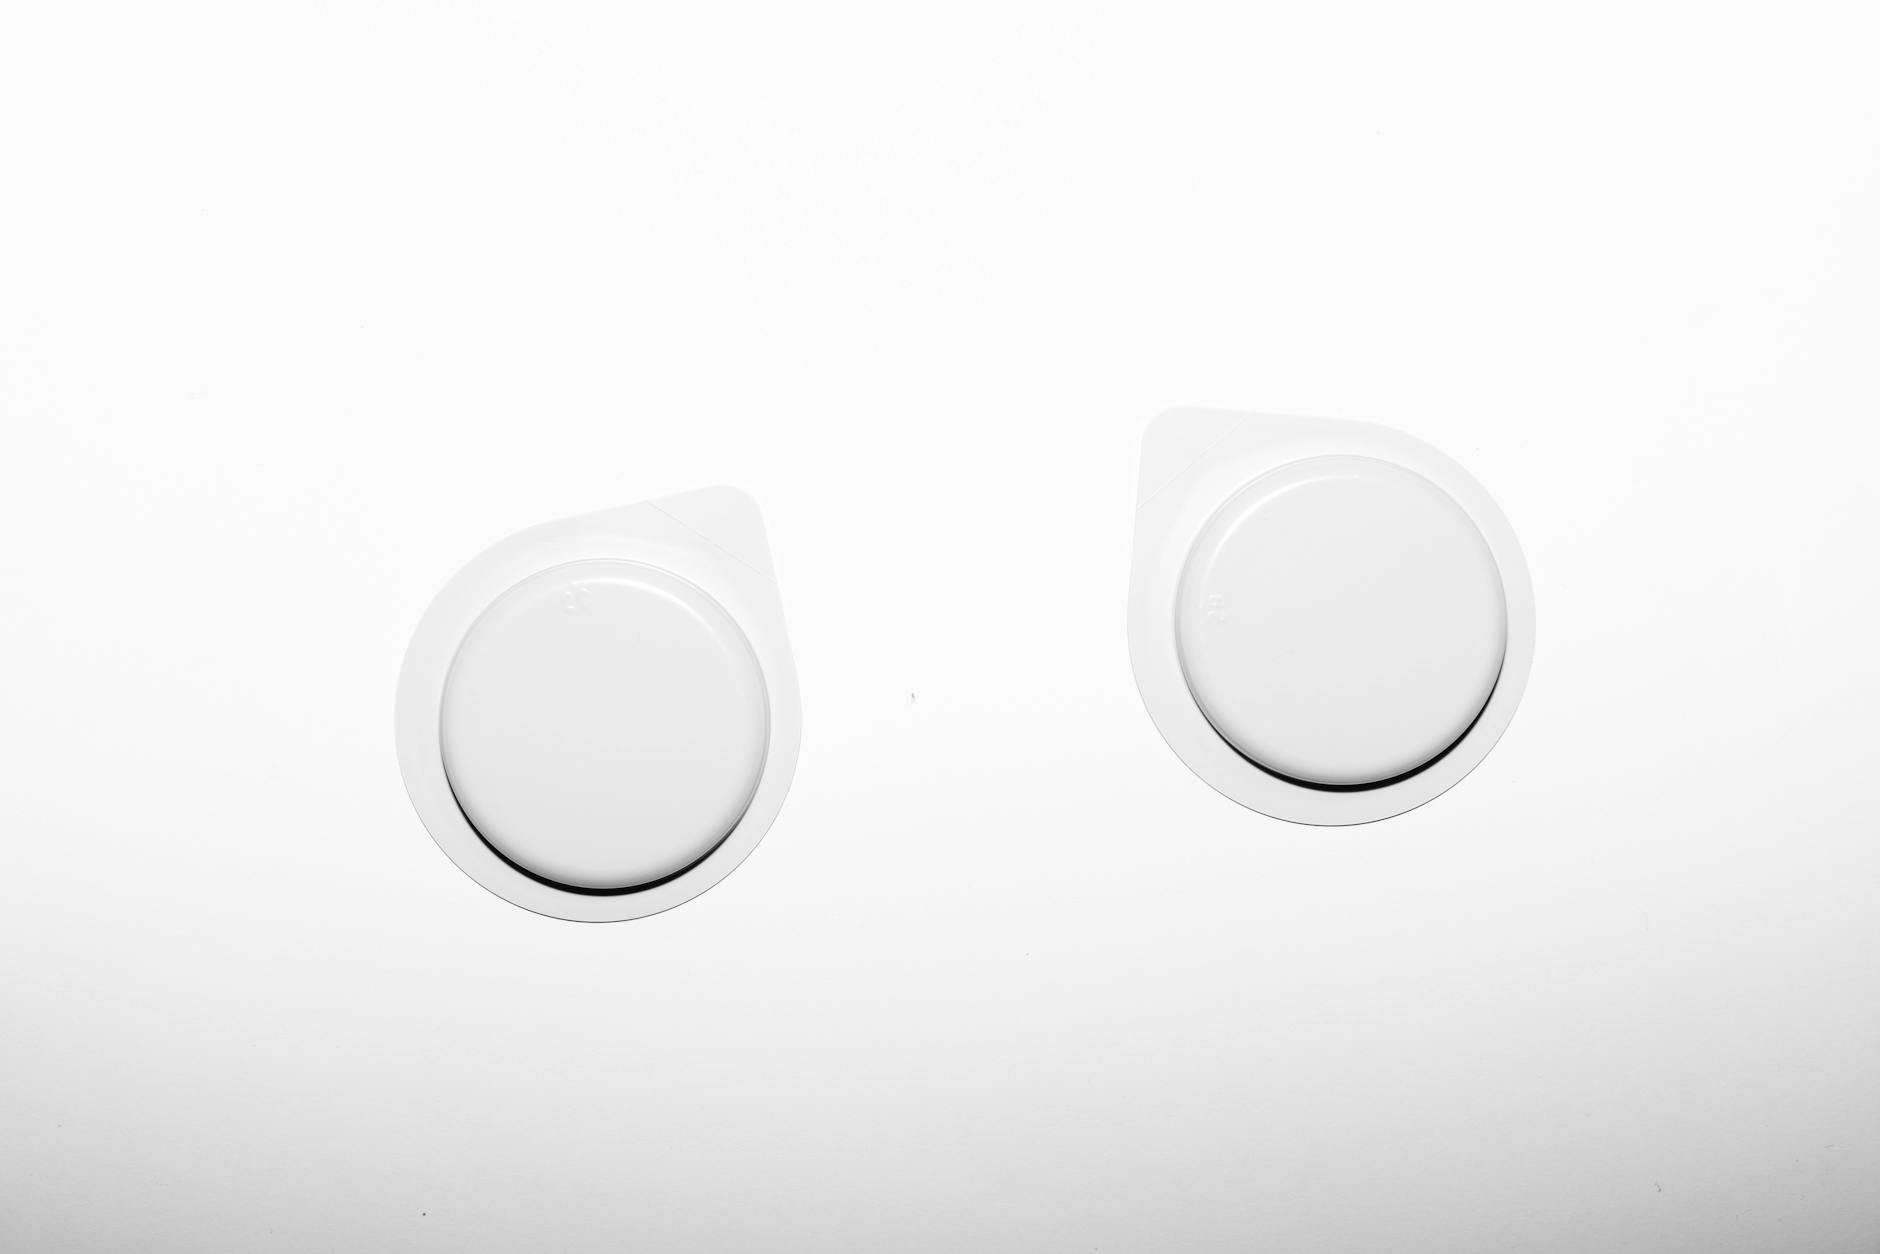
Before and after comparison showing background removal from a product photo
How Background Removal Works
Modern background removal uses one of three technical approaches:
AI Segmentation (Best Quality)
Deep learning models like U-Net, MODNet, and IS-Net analyze the image to identify the subject at the pixel level. They produce an alpha matte -- a grayscale mask where white represents the subject and black represents the background, with gray values for semi-transparent edges (hair, fur, smoke).
Color-Based Removal (Chroma Key)
Similar to green screen technology, this method removes pixels of a specific color. It works well when the background is a uniform color (white, green, blue) but fails on complex or multi-colored backgrounds.
Edge-Based Selection (Manual)
Traditional approach using tools like magic wand, lasso, or pen tool in image editors. Slower but gives complete control over edge quality.
Method
Quality
Speed
Hair/Fur Handling
Cost
AI Segmentation
Excellent
1-5 seconds
Very good
Free to moderate
Chroma Key
Good (uniform backgrounds only)
Instant
Poor
Free
Manual (Pen Tool)
Perfect (skill-dependent)
5-30 minutes per image
Excellent (with Refine Edge)
Free (with software)
Magic Wand / Select Subject
Good to very good
30-120 seconds
Moderate
Free (with software)
Method 1: Free Online Background Removal
Using Our Image Converter
Our image converter supports background removal as part of the conversion workflow:
Upload your image (JPG, PNG, WebP, or any supported format)
Enable background removal
Choose your output format (PNG for transparency, JPG with a solid background)
Download the result
Other Free Online Tools
Several free online tools provide AI background removal:
remove.bg -- The most popular dedicated tool, excellent for portraits and products
PhotoRoom -- Designed for e-commerce product images
Canva Background Remover -- Integrated into Canva's design workflow
Adobe Express -- Free tier includes background removal
For best results, start with a high-resolution image where the subject is clearly distinct from the background.
Pro Tip: After removing the background, save as PNG (not JPG) to preserve the transparency. JPG does not support transparency and will fill the removed area with a solid color. Use our PNG converter to ensure the output is in the correct format. For the smallest transparent files, convert to WebP using our WebP converter.
Method 2: Python with rembg (Free, Open Source)
The rembg library wraps the U-Net model for programmatic background removal:
from rembg import remove
from PIL import Image
import io

def remove_background(input_path, output_path):
    with open(input_path, "rb") as f:
        input_data = f.read()

    output_data = remove(input_data)

    with open(output_path, "wb") as f:
        f.write(output_data)

# Single image
remove_background("product.jpg", "product_nobg.png")
Batch Background Removal
import os
import glob
from rembg import remove, new_session
from PIL import Image

def batch_remove_bg(input_dir, output_dir, model="u2net"):
    os.makedirs(output_dir, exist_ok=True)
    session = new_session(model)

    images = glob.glob(os.path.join(input_dir, "*.{jpg,png,webp}"))

    for img_path in images:
        filename = os.path.splitext(os.path.basename(img_path))[0]
        output_path = os.path.join(output_dir, f"{filename}.png")

        with open(img_path, "rb") as f:
            result = remove(f.read(), session=session)

        with open(output_path, "wb") as f:
            f.write(result)

        print(f"Processed: {filename}")

# Process entire directory
batch_remove_bg("./products", "./products_nobg")
Model Options
rembg supports multiple models, each optimized for different content:
# General purpose (default, good all-around)
session = new_session("u2net")

# Lightweight (faster, slightly lower quality)
session = new_session("u2net_lite")

# Human segmentation (optimized for portraits)
session = new_session("u2net_human_seg")

# IS-Net (newer, often better quality)
session = new_session("isnet-general-use")
Method 3: ImageMagick (Color-Based Removal)
For images with uniform backgrounds (white, green, etc.), ImageMagick can remove by color:
# Remove white background (with 10% fuzz for off-white variations)
magick input.jpg -fuzz 10% -transparent white output.png

# Remove green screen background
magick input.jpg -fuzz 15% -transparent "#00ff00" output.png

# Remove background with more precise color matching
magick input.jpg -fuzz 5% -transparent "rgb(255,255,255)" output.png

# Remove background and clean up edges
magick input.jpg \
  -fuzz 10% -transparent white \
  -channel alpha -blur 0x1 -level 50%,100% +channel \
  output.png
The -fuzz percentage controls how much color variation is tolerated. Higher values remove more but may eat into the subject. Start low (5%) and increase gradually.
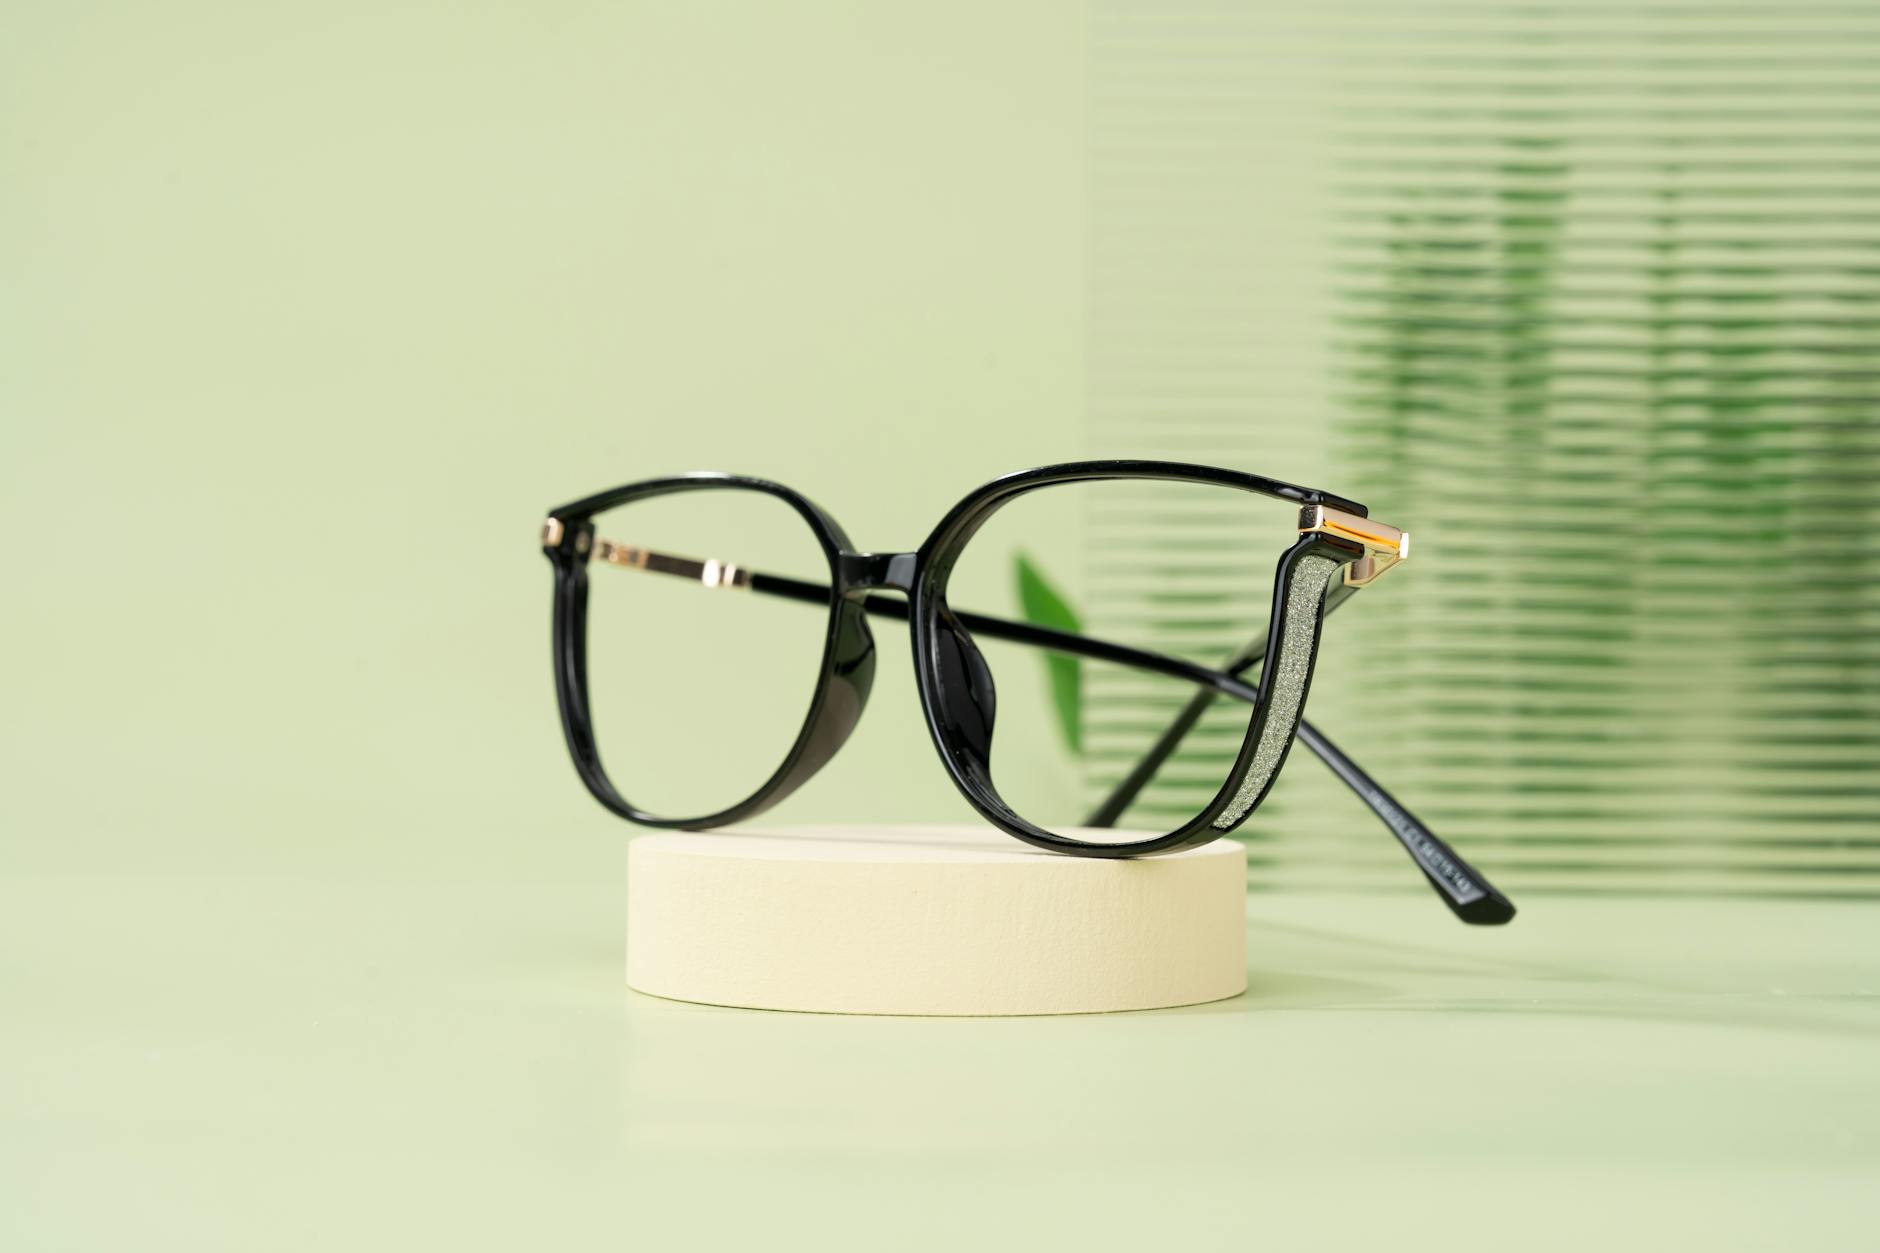
Comparison of background removal quality with different fuzz settings in ImageMagick
Method 4: GIMP (Free Desktop Application)
GIMP provides several background removal methods:
Fuzzy Select (Magic Wand)
Open your image in GIMP
Select the Fuzzy Select tool (U key)
Click on the background area
Adjust the threshold slider to capture more or less of the background
Press Delete to remove the selected area
File > Export As and save as PNG
Foreground Select Tool (Best for Complex Subjects)
Open your image
Select the Foreground Select tool
Draw a rough outline around the subject
Paint over the foreground (subject) to tell GIMP what to keep
Press Enter to create the selection
Select > Invert then Edit > Clear
Export as PNG
Select by Color
Select > By Color
Click the background color
Adjust threshold
Edit > Clear
Export as PNG
Method 5: Photoshop (Professional)
For the highest quality results with complex subjects:
Quick Method: Remove Background Button
Open your image
Go to Window > Properties
Click Remove Background under Quick Actions
Refine with Select and Mask if needed
Precise Method: Select Subject + Refine Edge
Select > Subject (AI-powered selection)
Select > Select and Mask
Use the Refine Edge Brush on hair and fine details
Set Output to: New Layer with Layer Mask
Click OK
Export as PNG
Pen Tool (Pixel-Perfect Edges)
For products, architecture, and hard-edged subjects:
Select the Pen Tool (P)
Trace around the subject with anchor points
Close the path
Right-click > Make Selection (0px feather)
Select > Inverse then Edit > Clear
Export as PNG
Use Case: Product Photography
E-commerce platforms often require product images on white or transparent backgrounds:
Amazon Requirements
Pure white background (RGB 255, 255, 255)
Product fills 85% of the frame
No watermarks, borders, or text
# Remove background and add white background for Amazon
rembg i input.jpg - | magick - \
  -background white -flatten \
  -resize '2000x2000>' \
  -quality 95 output.jpg
Transparent Background for Multi-Platform Use
# Remove background and save as transparent PNG
rembg i product.jpg product_transparent.png
Then use our image converter to generate versions with different background colors or formats for each platform.
Use Case: Portrait Photography
Headshot Background Replacement
from rembg import remove
from PIL import Image
import io

def replace_background(input_path, bg_color, output_path):
    # Remove background
    with open(input_path, "rb") as f:
        result = remove(f.read())

    # Create new background
    foreground = Image.open(io.BytesIO(result)).convert("RGBA")
    background = Image.new("RGBA", foreground.size, bg_color)
    composite = Image.alpha_composite(background, foreground)
    composite.convert("RGB").save(output_path, "JPEG", quality=95)

# Corporate headshot on brand blue
replace_background("headshot.jpg", (0, 102, 204, 255), "headshot_branded.jpg")

# Passport photo on white
replace_background("photo.jpg", (255, 255, 255, 255), "passport.jpg")
Pro Tip: For portraits with complex hair, AI models sometimes miss fine strands or create a hard edge where there should be soft wisps. After AI background removal, zoom in to 200% and inspect the hair boundary. In Photoshop or GIMP, use a soft eraser brush at low opacity to manually clean up any remaining fringing or halos around hair.
Use Case: Logo Extraction
Converting a logo on a colored background to a transparent PNG:
# Simple white background removal for logos
magick logo_on_white.jpg -fuzz 8% -transparent white logo_transparent.png

# For logos on complex backgrounds, use AI
rembg i logo_on_photo.jpg logo_transparent.png
For creating logo variants in different formats, use our PNG converter for transparent backgrounds or JPG converter for solid backgrounds. To vectorize a logo, try the PNG to SVG tool.
Batch Processing for E-Commerce
When you have hundreds of product images to process:
#!/bin/bash
# Batch background removal for e-commerce
INPUT_DIR="./raw_products"
OUTPUT_TRANSPARENT="./products_transparent"
OUTPUT_WHITE="./products_white_bg"

mkdir -p "$OUTPUT_TRANSPARENT" "$OUTPUT_WHITE"

for img in "$INPUT_DIR"/*.{jpg,png,webp}; do
  [ -f "$img" ] || continue
  filename=$(basename "$img" | sed 's/\.[^.]*$//')

  # Remove background (transparent PNG)
  rembg i "$img" "$OUTPUT_TRANSPARENT/${filename}.png"

  # Create white background version (for Amazon, eBay)
  magick "$OUTPUT_TRANSPARENT/${filename}.png" \
    -background white -flatten \
    -resize '2000x2000>' \
    -quality 95 \
    "$OUTPUT_WHITE/${filename}.jpg"

  echo "Processed: $filename"
done
JPG does not support transparency. Saving a background-removed image as JPG replaces the transparency with white (or black). Always save as PNG, WebP, or AVIF to preserve transparency.
Mistake 2: Using Too High a Fuzz Value
With ImageMagick's -fuzz approach, setting the tolerance too high removes parts of the subject along with the background. Start at 5% and increase gradually.
Mistake 3: Not Checking All Edges
AI background removal occasionally misses spots, especially in areas where the subject color matches the background. Always inspect the full perimeter of the cutout at 100% zoom.
Mistake 4: Ignoring Shadows
Removing the background also removes natural shadows, making the subject look "pasted on." For product photography, consider adding a subtle drop shadow after background removal:
AI-powered background removal has made what was once a tedious manual task into a quick, automated process. For individual images, free online tools provide excellent results in seconds. For batch processing, Python with rembg offers the best combination of quality and automation. For pixel-perfect control, Photoshop's Select Subject + Refine Edge workflow remains unmatched.