Master RAW photo conversion from any camera brand — Canon CR2/CR3, Nikon NEF, Sony ARW, and more. Learn the best output formats, quality settings, and workflows for photographers.
Daniel Nakamura·February 18, 2026·20 min read
Every serious photographer shoots in RAW. The format captures the full sensor data from your camera — every photon of light, every shade of color, every bit of dynamic range — giving you maximum flexibility in post-processing. But RAW files are not images in the consumer sense. They cannot be uploaded to social media, embedded in a website, emailed to a client, or opened in most applications without specialized software.
At some point, every RAW file needs to become a JPEG, PNG, TIFF, or another standard format. The question is how to do this conversion properly — preserving the quality you worked to capture, applying the right settings for your intended use, and handling the dozens of proprietary RAW formats that different camera manufacturers insist on using.
This guide covers every step of that process, from understanding what RAW files actually contain to choosing optimal export settings for every common use case. Whether you are converting a single portrait or batch-processing ten thousand wedding photos, the principles are the same.
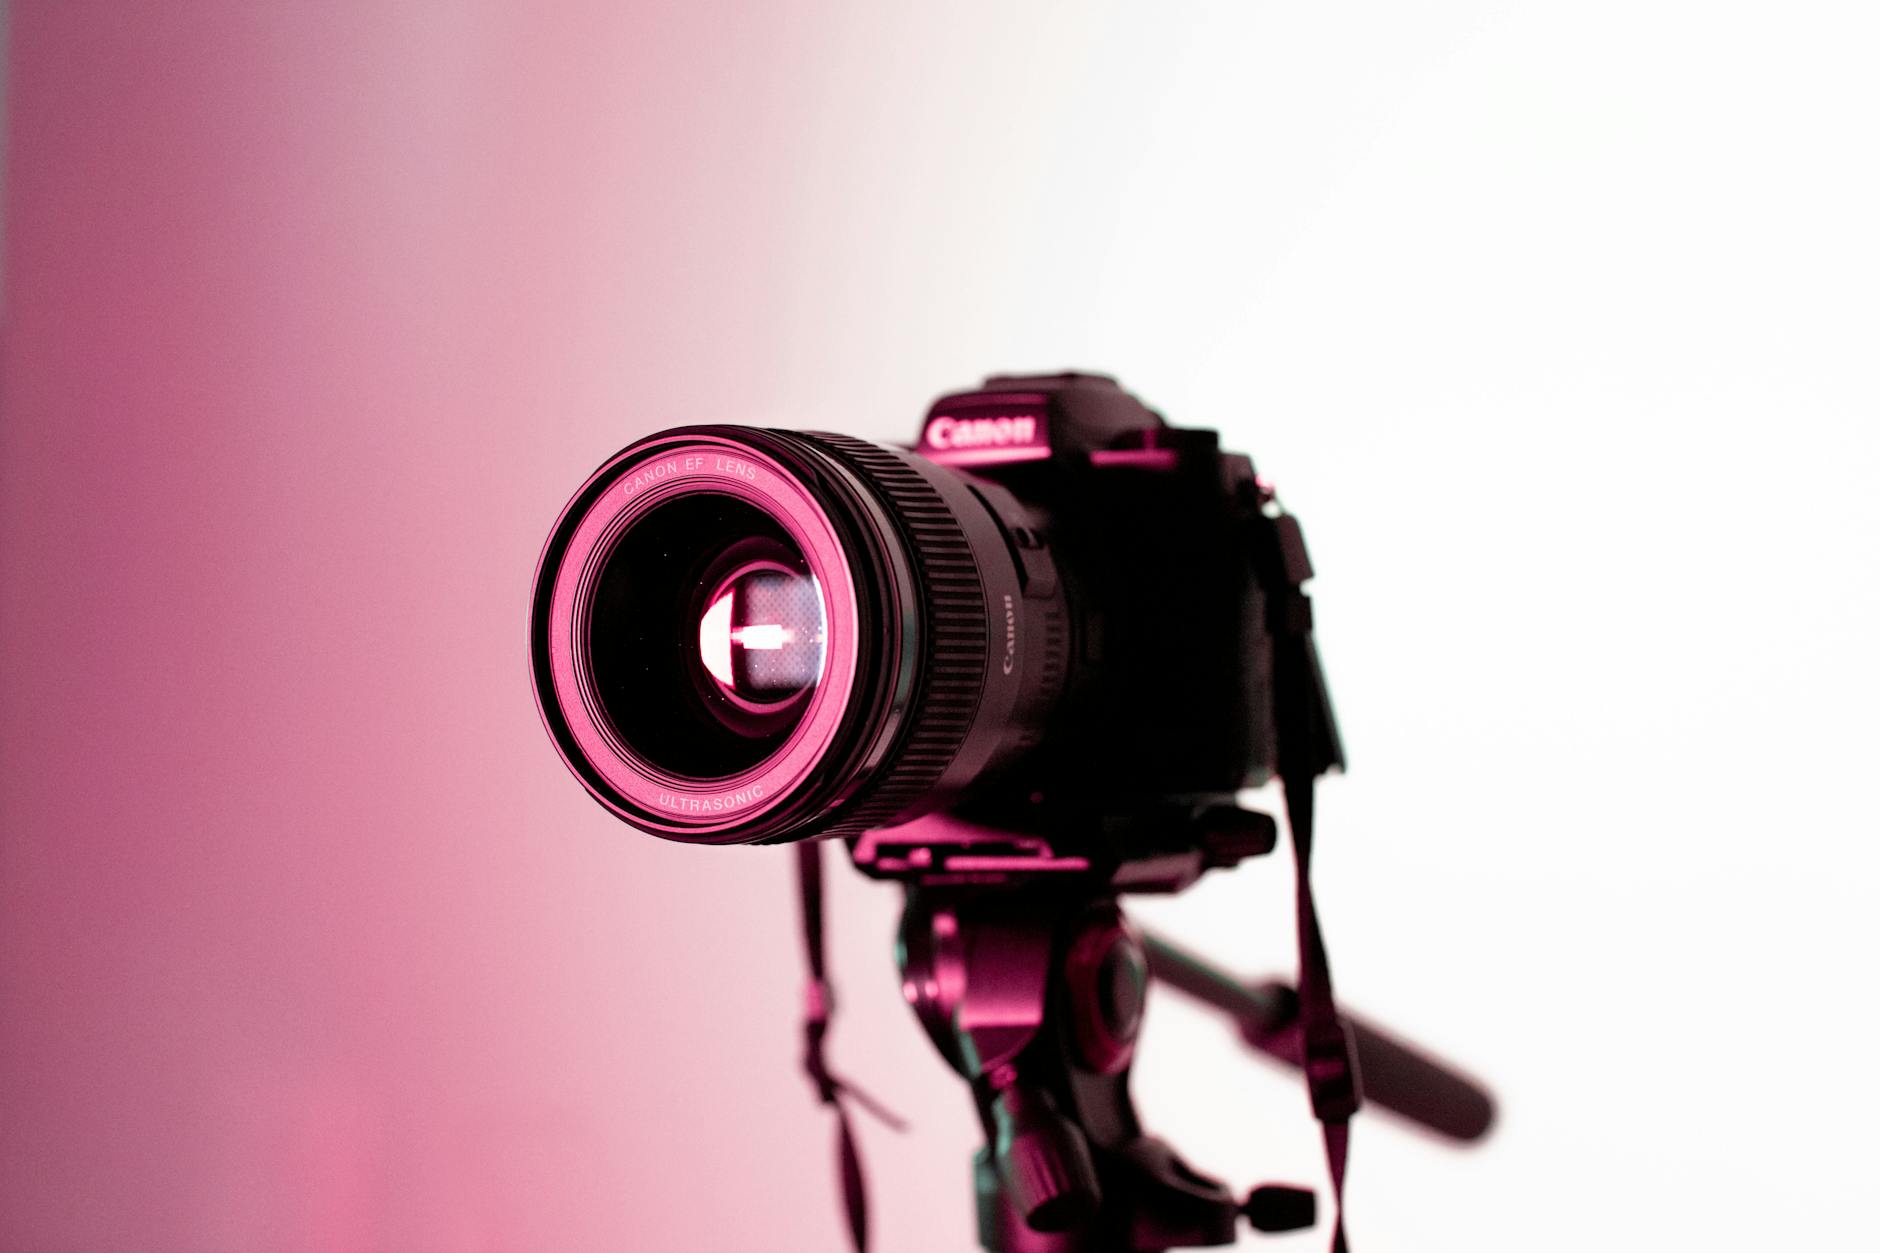
Camera RAW file conversion workflow overview
What RAW Files Actually Contain
A RAW file is not an image. It is a data dump from your camera's sensor, packaged with metadata about the capture conditions. Understanding what is inside helps you make better conversion decisions.
Sensor Data
The core of a RAW file is the unprocessed readout from the image sensor. On a typical modern camera, this is 12 to 16 bits per pixel per color channel, compared to the 8 bits per channel in a standard JPEG. That extra bit depth translates to dramatically more information in highlights and shadows — which is why RAW files can recover blown highlights and lift deep shadows in ways that JPEGs simply cannot.
The sensor data is also recorded before demosaicing. Most camera sensors use a Bayer color filter array, where each pixel captures only red, green, or blue light. The full-color image you see on your screen is reconstructed by interpolating the missing color channels — a process called demosaicing. Different RAW converters use different demosaicing algorithms, which is why the same RAW file can look slightly different when opened in Lightroom versus Capture One versus DxO PhotoLab.
Camera Metadata
RAW files embed extensive metadata: exposure settings (aperture, shutter speed, ISO), white balance as shot by the camera, lens information (focal length, distortion correction profiles), GPS coordinates if available, and camera-specific data like focus point location and metering mode. This metadata is preserved through conversion and can be stripped or retained as needed.
Manufacturer-Specific Encoding
Here is where things get complicated. There is no universal RAW format. Every camera manufacturer uses their own proprietary encoding, and many have changed their format across camera generations.
Camera Brand
RAW Extension(s)
Bit Depth
Compression
Notable Features
Canon
.CR2, .CR3
14-bit
Lossless or lossy
CR3 uses HEIF container; cRAW (lossy) option
Nikon
.NEF, .NRW
12/14-bit
Lossless, lossy, or uncompressed
NEF supports embedded JPEG preview
Sony
.ARW
12/14-bit
Lossless compressed
Uncompressed RAW available on newer bodies
Fujifilm
.RAF
14-bit
Lossless compressed
X-Trans sensor requires special demosaicing
Olympus/OM System
.ORF
12-bit
Lossless compressed
High-res shot mode creates large composites
Panasonic
.RW2
12/14-bit
Lossless compressed
V-Log data in video-capable bodies
Pentax
.PEF, .DNG
14-bit
Lossless compressed
Option to save as DNG in-camera
Leica
.DNG, .RWL
14-bit
Lossless compressed
DNG is the primary format on most models
Hasselblad
.3FR, .FFF
16-bit
Lossless compressed
Medium format 100+ MP sensor data
Phase One
.IIQ
16-bit
Lossless compressed
Professional medium format, very large files
Adobe
.DNG
Up to 16-bit
Lossless or lossy
Universal RAW format, open specification
The proliferation of formats means that any RAW conversion tool must support a wide range of proprietary decoders. Software that works perfectly for your Canon CR3 files might not open your friend's Fujifilm RAF files at all.
Pro Tip: Adobe DNG (Digital Negative) was created specifically to solve this compatibility problem. You can convert any proprietary RAW format to DNG for long-term archival, ensuring your files will be readable decades from now regardless of whether Canon, Nikon, or Sony still support their legacy formats.
raw photoscr2nefarwraw to jpegphotographycamera raw
Try these conversions
Free, in your browser — no signup, files auto-delete in 2 hours.
The output format you choose depends entirely on what you plan to do with the converted image. There is no single best choice — each format excels in a different context.
Use Case
Recommended Format
Quality Setting
Typical File Size (24 MP)
Color Space
Notes
Web display / blog
JPEG or WebP
Quality 80-85
2-4 MB
sRGB
Maximum compatibility
Social media upload
JPEG
Quality 85-90
3-6 MB
sRGB
Platforms re-compress anyway
Client delivery (digital)
JPEG
Quality 92-95
6-12 MB
sRGB
High quality, universally viewable
Client delivery (print)
TIFF 16-bit
Uncompressed or LZW
140-200 MB
Adobe RGB or ProPhoto
Maximum quality for print lab
Further editing
TIFF 16-bit
Uncompressed
140-200 MB
ProPhoto RGB
Preserves full edit flexibility
Archival backup
DNG
Lossless compressed
25-45 MB
Original sensor data
Long-term format stability
Email attachment
JPEG
Quality 80, resized
0.5-2 MB
sRGB
Keep under 10 MB total
Stock photography
TIFF or JPEG
Quality 95+ (JPEG)
Varies
sRGB or Adobe RGB
Check agency requirements
Fine art printing
TIFF 16-bit
Uncompressed
140-200 MB
Adobe RGB or ProPhoto
Maximum tonal range
JPEG: The Universal Delivery Format
JPEG is the right choice when you need maximum compatibility and reasonable file sizes. Every device, application, browser, and service on earth supports JPEG. For web delivery, email, social media, and most client deliverables, JPEG at quality 85-95 provides excellent results.
When converting RAW to JPEG, the critical settings are:
Quality: 85-92 for web and digital delivery, 92-95 for print and professional delivery
Color space: sRGB for web and screen viewing, Adobe RGB only if the recipient specifically needs it
Resolution: Match the sensor resolution for archival, resize to needed dimensions for delivery
Sharpening: Apply output sharpening appropriate to the display medium (screen sharpening is different from print sharpening)
Convert your RAW files to high-quality JPEG using our JPG converter, which handles color space conversion, quality optimization, and metadata management automatically.
PNG: Lossless but Large
PNG preserves every pixel without any compression artifacts, making it suitable for graphics, screenshots, and situations where you need transparency. For photographic RAW conversions, however, PNG files are enormous — a 24 MP photo saved as PNG 24-bit can exceed 70 MB. Use PNG only when you specifically need lossless output with transparency or when the image will undergo further editing in a tool that does not support TIFF.
Our PNG converter supports RAW input formats and produces optimized PNG output with configurable compression levels.
RAW to JPEG conversion settings comparison showing different quality levels
TIFF: The Professional Standard
TIFF is the gold standard for professional photography workflows. It supports 16-bit color depth (preserving the full tonal range from your RAW file), multiple compression options (uncompressed, LZW lossless, ZIP lossless), embedded ICC color profiles, and layers in some implementations.
When to use TIFF:
Sending files to a professional print lab
Handing off to a designer or retoucher for further editing
Creating archival copies that preserve maximum quality
Fine art reproduction where every tonal nuance matters
The downside is file size. A 24 MP image saved as 16-bit TIFF is roughly 140 MB uncompressed. With LZW compression, this drops to 80-100 MB, but that is still orders of magnitude larger than JPEG. Use our TIFF converter for batch RAW-to-TIFF conversion with configurable bit depth and compression.
Pro Tip: If you are delivering TIFF files to a print lab, confirm their requirements first. Some labs prefer 8-bit TIFF in Adobe RGB, others want 16-bit in ProPhoto RGB, and some will even accept high-quality JPEG. Sending the wrong specification wastes your time and theirs.
Step-by-Step RAW Conversion
Method 1: Using Dedicated RAW Software
Professional photographers typically use dedicated RAW processors that combine conversion with advanced editing capabilities. The workflow is the same regardless of which software you choose.
Step 1: Import and catalog.
Import your RAW files into your software's catalog or library. This creates a database of your images with previews, metadata, and (eventually) editing instructions. Do not move or rename the original RAW files after importing — the catalog references their location.
Step 2: Develop and edit.
This is where the magic of RAW processing happens. Adjust exposure, white balance, highlights, shadows, tone curves, color grading, sharpening, noise reduction, and lens corrections. All edits are non-destructive — they are stored as instructions, not applied to the original file. You can always revert to the original sensor data.
Step 3: Export with appropriate settings.
Once your edits are complete, export (or "develop" in some software) to your target format. This is where the actual conversion happens: the software applies your edits to the RAW sensor data, performs demosaicing, converts to the target color space, and encodes in the output format.
Key export settings to configure:
Format: JPEG, TIFF, PNG, PSD, or DNG depending on use case
Quality: See the table above for recommended settings per use case
Color space: sRGB for web/screen, Adobe RGB for professional print, ProPhoto RGB for archival
Bit depth: 8-bit for JPEG, 8 or 16-bit for TIFF and PNG
Resolution: 300 PPI for print, 72 PPI for web (though PPI is irrelevant for screen display — only pixel dimensions matter)
Sharpening: Output sharpening matched to the delivery medium (screen, matte print, glossy print)
Metadata: Include or exclude EXIF data, copyright info, GPS coordinates
Method 2: Batch Conversion Without Editing
Sometimes you need to convert RAW files to a standard format quickly, without individual editing. This is common when delivering event coverage, processing documentation photos, or preparing files for a client who requested "just the JPEGs."
Our image converter handles this workflow directly in the browser. Upload your RAW files — CR2, CR3, NEF, ARW, RAF, ORF, RW2, PEF, DNG, and others — choose your output format, and download the converted results. The converter applies sensible defaults for white balance (as shot by the camera), exposure, and color rendering.
Step 1: Navigate to the image converter and select your target format (JPEG, PNG, TIFF, or WebP).
Step 2: Upload your RAW files. The converter supports all major RAW formats from Canon, Nikon, Sony, Fujifilm, Olympus, Panasonic, Pentax, Leica, and Hasselblad.
Step 3: Adjust quality settings if desired. The defaults are optimized for each output format.
Step 4: Download your converted files individually or as a ZIP archive.
Method 3: Command-Line Conversion
For photographers who need to integrate RAW conversion into automated pipelines, command-line tools provide maximum flexibility.
dcraw is the foundational open-source RAW decoder. It supports virtually every RAW format ever created and provides granular control over demosaicing, white balance, exposure compensation, and output format. A typical command:
dcraw -v -w -H 2 -o 1 -q 3 -T *.CR3
This processes all CR3 files in the directory with camera white balance (-w), highlight recovery (-H 2), sRGB output (-o 1), high-quality demosaicing (-q 3), and TIFF output (-T).
LibRaw is the modern successor to dcraw, providing the same core functionality with a cleaner API and better performance. Most RAW processing applications (including darktable, RawTherapee, and our own conversion engine) use LibRaw under the hood.
ImageMagick with delegates can also process RAW files, though it delegates the actual RAW decoding to dcraw or LibRaw. It is useful when RAW conversion is one step in a larger image processing pipeline.
Working with Specific RAW Formats
Canon CR2 and CR3
Canon's CR2 format has been the standard for Canon DSLRs for over a decade. CR3, introduced with the EOS M50 in 2018, uses a modern HEIF-based container that supports both lossless RAW and lossy cRAW (compressed RAW) modes.
CR2 specifics: Widely supported by all major software. 14-bit data with lossless JPEG compression. The embedded JPEG preview can be extracted quickly for proofing without decoding the full RAW data.
CR3 specifics: Uses HEIF container with CRAW codec. Some older software versions do not support CR3 — if your tools cannot open CR3 files, update to the latest version or convert through our platform. The cRAW option produces files roughly 40 percent smaller than standard RAW with a slight (generally imperceptible) quality reduction.
Nikon NEF
Nikon's NEF format offers three compression options in-camera: lossless compressed, lossy compressed, and uncompressed. Lossless compressed is the default and recommended setting — it reduces file size by about 50 percent with no quality loss. Lossy compressed saves more space but discards some tonal information, which can cause banding in heavy shadow recovery.
NEF files from newer Nikon mirrorless cameras (Z6 III, Z8, Z9) may use updated encoding that requires recent software versions. Always keep your RAW processing software updated to maintain compatibility.
Sony ARW
Sony's ARW format has evolved significantly across camera generations. Older Sony cameras (A7, A7R) used a lossy compressed RAW by default, which caused controversy in the photography community because it subtracted detail in areas of fine texture. Newer cameras (A7 IV, A7R V, A1, A9 III) offer uncompressed and lossless compressed RAW options that preserve full sensor data.
Important: If you shoot with an older Sony body, check your compression setting. Switch to uncompressed RAW if your camera offers it and you have the storage space. The quality difference in demanding post-processing scenarios is measurable.
Fujifilm RAF
Fujifilm's X-Trans sensor uses a non-Bayer color filter array that requires specialized demosaicing algorithms. Standard Bayer demosaicing applied to X-Trans data produces visible artifacts — worm-like patterns in fine detail areas. This is why Lightroom's handling of Fujifilm RAW files was criticized for years (Adobe has since improved their X-Trans demosaicing substantially).
For best results with Fujifilm RAF files, consider Capture One (excellent X-Trans rendering), Fujifilm's own X RAW Studio, or Iridient Developer (widely regarded as the best X-Trans demosaicing available). Our converter uses LibRaw's X-Trans-aware demosaicing for reliable results.
Comparison of RAW conversion output from different camera brands
Color Space Considerations
One of the most misunderstood aspects of RAW conversion is color space selection. Your camera captures color in a device-specific color space determined by the sensor and color filter array. During conversion, this raw color data must be mapped to a standard color space.
sRGB
sRGB is the default color space of the internet, consumer displays, and most devices. It covers approximately 35 percent of the visible spectrum — which sounds limited but is sufficient for the vast majority of content. Use sRGB when:
Images will be viewed on screens (web, social media, email)
You do not know what display the viewer will use
The images will pass through systems that may not be color-managed (most of them)
Adobe RGB
Adobe RGB covers approximately 50 percent of the visible spectrum — significantly more than sRGB, particularly in the cyan-green region. Use Adobe RGB when:
Delivering to a professional print lab that requests it
The images will be printed on high-quality inkjet or giclée printers
The recipient has a color-managed workflow
Warning: Displaying Adobe RGB images on a non-color-managed system (most web browsers, most consumer devices) will produce desaturated, washed-out colors. Always convert to sRGB for web delivery.
ProPhoto RGB
ProPhoto RGB encompasses approximately 90 percent of the visible spectrum — far more than any current display or printer can reproduce. It exists as an editing space, allowing you to preserve the maximum color information from your sensor during processing. Use ProPhoto RGB only for:
Master archival files (16-bit TIFF)
Intermediate files in a professional color-managed workflow
Files that will undergo extensive color grading or correction
Pro Tip: The practical rule is simple. Export to sRGB for anything that will be viewed on a screen. Export to Adobe RGB only when a print professional specifically requests it. Use ProPhoto RGB only as a working space during editing, never as a final delivery format for general use.
Batch Conversion Workflow for Photographers
Event and commercial photographers often need to convert hundreds or thousands of RAW files efficiently. Here is a professional batch conversion workflow.
Preparation
Import all RAW files to a single directory or catalog
Cull ruthlessly — delete obvious rejects (out of focus, eyes closed, test shots) before spending time on conversion
Apply batch edits — set white balance, exposure, and basic tone corrections across the entire set, then fine-tune individual images as needed
Create export presets for each delivery requirement (web gallery, client downloads, print lab, social media)
Execution
Select all finalized images in your catalog
Apply the appropriate export preset based on the delivery target
Monitor the conversion queue — most RAW processors use all available CPU cores and can process 100-500 images per hour depending on output resolution and format
Verify a sample of converted files before delivering — spot-check 5-10 images at full zoom to confirm quality, color accuracy, and correct dimensions
Optimizing Converted Files
After converting RAW to JPEG, you may want to further optimize file sizes for web delivery without re-introducing compression artifacts. Our image compressor can take your converted JPEGs and squeeze additional bytes out through metadata stripping, progressive encoding, and smart re-compression that respects existing compression boundaries.
For a thorough guide on compression techniques that preserve quality, see our image compression tutorial.
Preserving EXIF Data During Conversion
RAW files contain extensive EXIF metadata that is often valuable to preserve — or important to remove, depending on the context.
Preserve EXIF when:
Delivering to clients who may need exposure information
Submitting to stock agencies (most require EXIF data)
Keeping personal archival copies
The metadata aids in organizing and searching your library
Remove EXIF when:
Publishing on the web (GPS data reveals shooting locations)
Sharing images where privacy is a concern
Minimizing file size for email or web delivery
The metadata contains proprietary camera settings you do not want to share
Most RAW conversion tools offer granular control over which EXIF fields to include or exclude. At minimum, consider stripping GPS data from any image published online unless the location is already publicly known.
Troubleshooting Common RAW Conversion Issues
Unsupported RAW Format
If your software cannot open a RAW file, the most common cause is that the camera model is newer than the software version. Adobe releases Camera Raw updates monthly to support new cameras. Lightroom, Capture One, and other tools follow similar schedules. Update your software or use Adobe's free DNG Converter to convert the proprietary RAW to DNG, which any modern tool can open.
Colors Look Different Than Camera Preview
Your camera's LCD shows a processed JPEG preview, not the actual RAW data. When you open the RAW file in conversion software, you see a different rendering that may look flatter, differently white-balanced, or less saturated. This is normal. Apply your desired adjustments — the RAW data contains far more information than the camera preview showed.
Banding in Gradients
Visible banding in sky gradients or smooth tonal transitions usually indicates either aggressive shadow recovery, conversion to 8-bit too early in the pipeline, or lossy RAW compression in-camera. Work in 16-bit throughout your editing process and convert to 8-bit only at the final export step.
Soft or Mushy Detail
If converted images look softer than expected, check your output sharpening settings. RAW files are inherently soft before demosaicing and sharpening — this is by design, as it gives you control over the sharpening process. Apply appropriate capture sharpening during RAW processing and output sharpening during export.
Understanding RAW File Sizes
RAW files are large, and understanding their sizes helps you plan storage and workflow around them.
A 24 MP camera produces RAW files of approximately 25-30 MB (lossless compressed). A 45 MP camera pushes that to 50-70 MB per file. A 100 MP medium format camera generates files exceeding 150 MB each. Shooting a thousand images at a wedding with a 45 MP camera means 50-70 GB of RAW data — before any editing or conversion.
This is why efficient conversion matters. Converting that 70 GB of RAW wedding photos to high-quality JPEG at quality 90 reduces total size to roughly 8-12 GB. Converting to optimized WebP drops it further to 5-8 GB. The image converter processes these conversions in batch, saving hours of manual export work.
Comparing RAW to JPEG Conversion with HEIC
The rise of HEIC (High Efficiency Image Container) as a camera format — particularly on iPhones and some mirrorless cameras — has added another option to the conversion landscape. HEIC offers better compression than JPEG at equivalent quality, but it is not a RAW format. It is a processed, lossy format similar in concept to JPEG but with more modern compression.
If you are choosing between shooting RAW+JPEG or RAW+HEIC in camera, HEIC is the better companion format — smaller files at higher quality for your quick-share needs while the RAW preserves full sensor data. For detailed HEIC vs JPEG comparisons, see our HEIC vs JPEG guide.
Final Recommendations
For photographers: Always shoot RAW. Convert to JPEG, TIFF, or WebP as the final step in your workflow, using the settings matched to your delivery target. Keep your RAW originals indefinitely — storage is cheap, and you may want to re-process them years later as RAW converters improve.
For anyone receiving RAW files: If a photographer or designer sends you RAW files and you just need usable images, upload them to our image converter and convert to JPEG at quality 90. The result will be a universally compatible file that preserves the photographer's intended quality.
For archival: Convert proprietary RAW formats to DNG for long-term storage. DNG is an open specification maintained by Adobe and supported by virtually every RAW processing application. It ensures your images will be readable decades from now, even if Canon or Nikon abandon their current formats.
The conversion itself is simple. The craft is in the editing decisions you make between opening the RAW file and pressing export. Master those decisions, and the technical conversion becomes a trivial final step.