How to Batch Convert RAW to JPG: Photographer's Workflow Guide
Learn how to batch convert RAW camera files (CR2, NEF, ARW, DNG) to JPG efficiently. Covers quality settings, color management, EXIF preservation, and automated workflows for professional photographers.
Alex Thompson·February 19, 2026·11 min read
Try these conversions
Free, in your browser — no signup, files auto-delete in 2 hours.
How to Batch Convert RAW to JPG: Photographer's Workflow Guide — Blog | ConvertIntoMP4
The Photographer's Bottleneck
Every professional photographer and serious hobbyist faces the same workflow challenge: you shoot in RAW for maximum quality and editing flexibility, but you deliver in JPG for client viewing, web publishing, and social media. A single wedding produces 2,000-5,000 RAW files. A product shoot generates hundreds. A real estate session delivers 50-100 per property.
Converting these RAW files to JPG one at a time is not feasible. You need batch processing -- automated, consistent, and quality-preserving. This guide covers every method for batch converting RAW to JPG, from lightweight command-line tools to professional DAM (Digital Asset Management) software, with specific attention to the settings that determine output quality.
Whether you shoot Canon (CR2/CR3), Nikon (NEF), Sony (ARW), Fuji (RAF), or Adobe DNG, the principles and most of the tools apply universally.
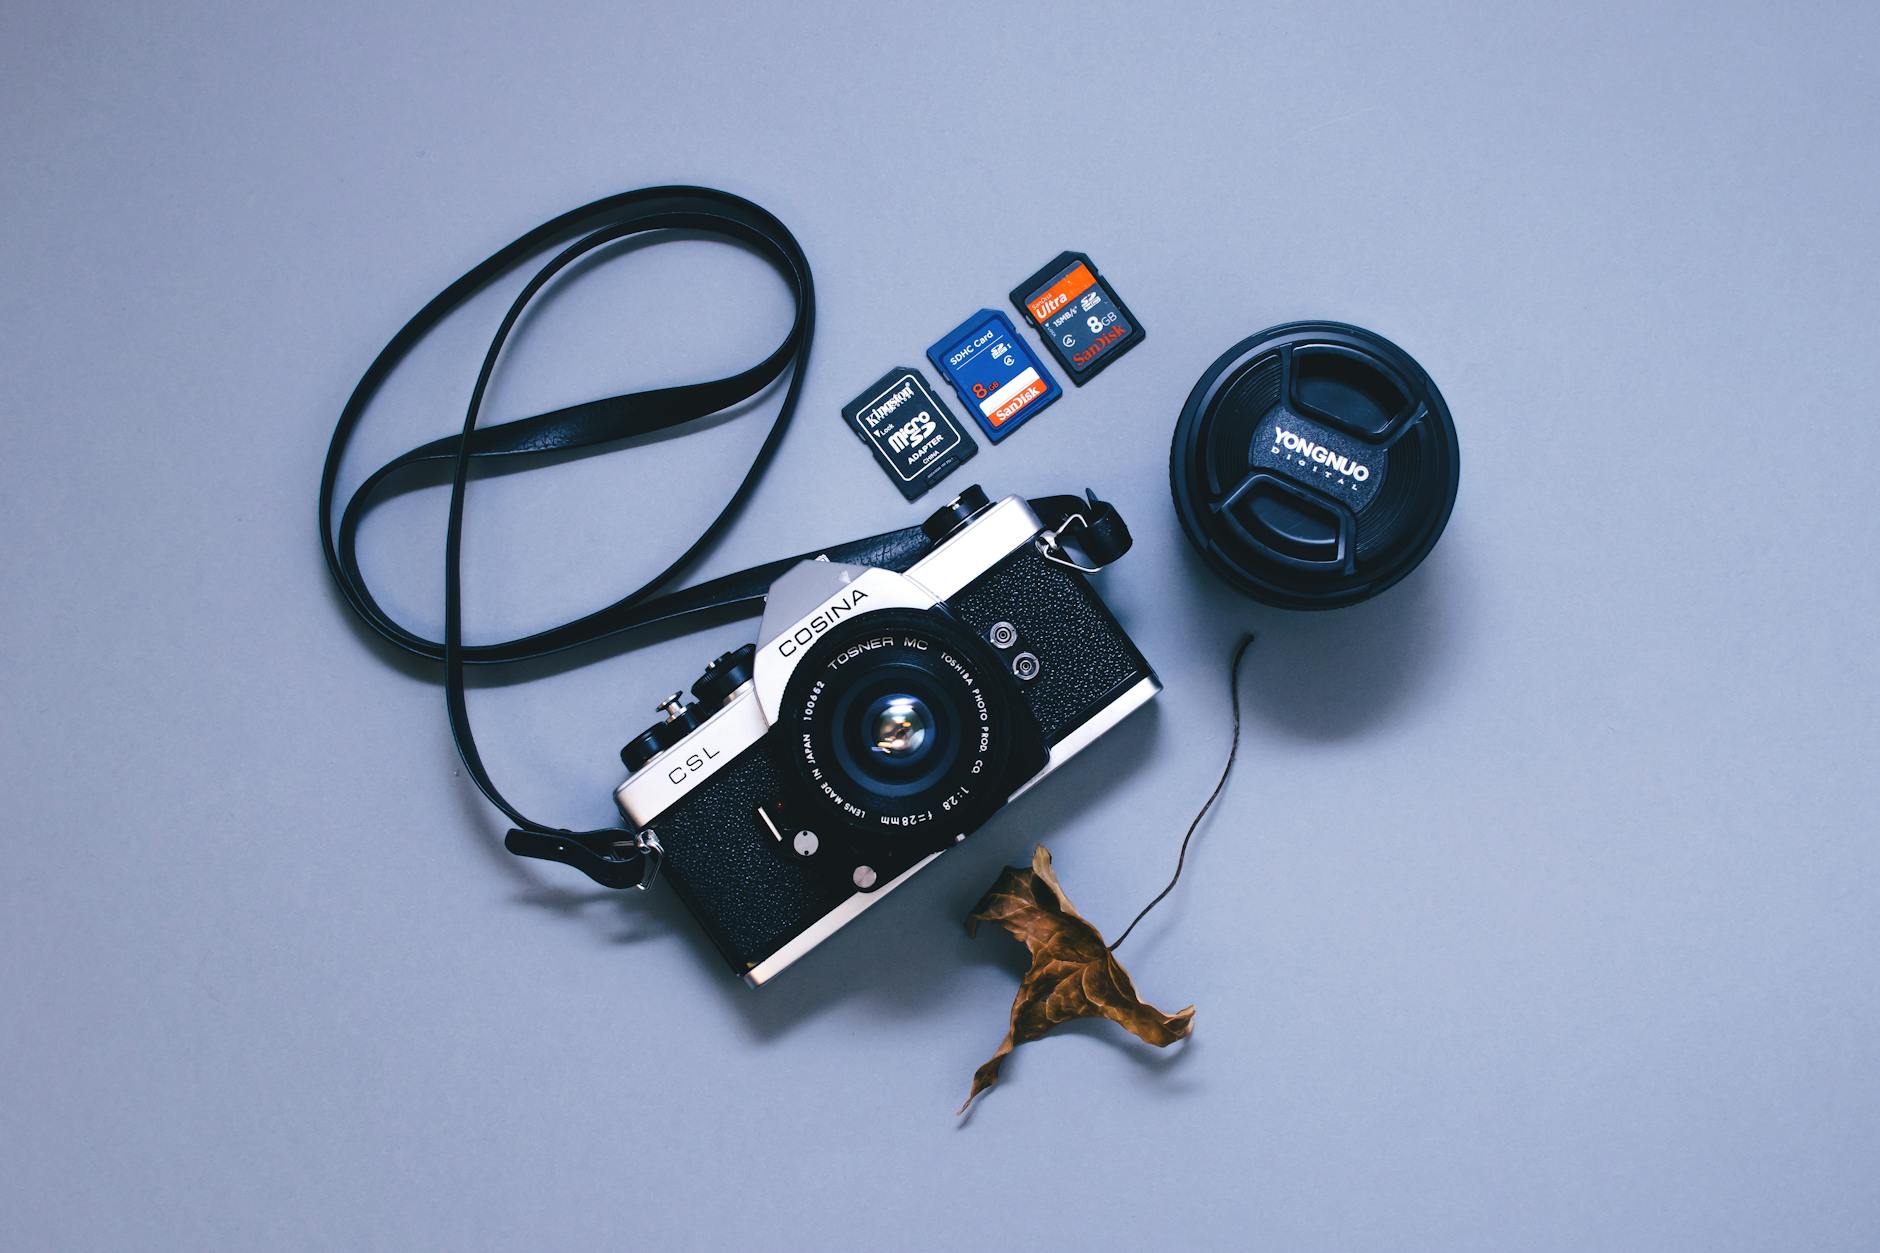
Camera memory card connected to computer showing RAW to JPG batch conversion workflow
RAW vs JPG: What You Are Converting
Understanding what RAW files contain helps you make better conversion decisions:
Characteristic
RAW
JPG
Bit Depth
12-14 bit (4,096-16,384 tones per channel)
8 bit (256 tones per channel)
Compression
None or lossless
Lossy (adjustable quality)
White Balance
Adjustable after capture
Baked in
Dynamic Range
12-15 stops
8-10 stops
Color Space
Camera-specific (linear)
sRGB, Adobe RGB, or ProPhoto RGB
File Size (24 MP)
25-50 MB per file
3-10 MB per file
Editing Latitude
Extensive (recover shadows/highlights)
Limited (data permanently discarded)
EXIF Data
Full camera metadata
Full camera metadata (preservable)
The conversion process applies a "recipe" to the RAW data: demosaicing the Bayer pattern, applying white balance, mapping the tone curve, converting to an 8-bit color space, and applying JPG compression. The quality of this recipe determines the quality of your output.
The quality slider is the most impactful setting. Here is what to use for different delivery scenarios:
Quality 95 -- Client master deliverables, portfolio, archival JPGs. Indistinguishable from RAW on screen. Files are 8-12 MB each.
Quality 85-90 -- Standard client delivery, web galleries, social media uploads. Excellent quality. Files are 3-6 MB each.
Quality 80 -- Blog posts, email attachments, quick proofs. Very good quality. Files are 2-4 MB each.
Quality 70-75 -- Low-bandwidth delivery, contact sheets. Acceptable quality with visible softness when zoomed. Files are 1-2 MB each.
Color Space Selection
sRGB -- Use for all web delivery, social media, and general client viewing. This is the default and correct choice for 90% of use cases.
Adobe RGB -- Use for print-destined images that will be further processed. Wider gamut but requires color-aware software to display correctly.
ProPhoto RGB -- Use only for archival or when you know the downstream workflow supports it. Displayed incorrectly in most web browsers.
Output Sharpening
RAW files are inherently soft because they have not been sharpened during in-camera processing. Apply output sharpening during conversion:
Screen viewing -- Light to medium sharpening
Print output -- Medium to strong sharpening (prints absorb sharpness)
Social media -- Medium sharpening (platforms recompress, which softens images)
Pro Tip: Apply sharpening as the last step, after resizing. Sharpening a full-resolution image and then downsizing produces different (usually worse) results than downsizing first and sharpening at the final output size.
darktable is a powerful free alternative to Lightroom:
Command-Line Batch Export
# Export all RAW files in a directory to JPG
darktable-cli input.cr2 output.jpg \
  --width 4000 --height 3000 \
  --hq true --upscale false

# Batch convert with a script
for raw in *.cr2 *.nef *.arw *.dng; do
  [ -f "$raw" ] || continue
  filename=$(basename "$raw" | sed 's/\.[^.]*$//')
  darktable-cli "$raw" "${filename}.jpg" \
    --width 4000 --height 3000 --hq true
  echo "Converted: $raw"
done
Applying Edits During Batch Export
darktable supports XMP sidecar files for non-destructive edits. If you have edited images in darktable's GUI, the edits are stored in .xmp files and will be applied during CLI export automatically.
For maximum control over the conversion pipeline, combine dcraw (RAW decoder) with ImageMagick (image processor):
#!/bin/bash
# Professional batch RAW to JPG conversion
INPUT_DIR="./raw"
OUTPUT_DIR="./jpg"
QUALITY=90
MAX_WIDTH=4000
COLOR_SPACE="sRGB"

mkdir -p "$OUTPUT_DIR"

for raw in "$INPUT_DIR"/*.{CR2,cr2,NEF,nef,ARW,arw,DNG,dng,RAF,raf}; do
  [ -f "$raw" ] || continue
  filename=$(basename "$raw" | sed 's/\.[^.]*$//')

  # Step 1: Decode RAW to PPM (16-bit, camera white balance)
  dcraw -w -6 -T "$raw"
  tiff_file="${raw%.*}.tiff"

  # Step 2: Process with ImageMagick
  magick "$tiff_file" \
    -colorspace "$COLOR_SPACE" \
    -resize "${MAX_WIDTH}x>" \
    -quality "$QUALITY" \
    -sampling-factor 4:2:0 \
    -interlace JPEG \
    -strip \
    "$OUTPUT_DIR/${filename}.jpg"

  # Clean up intermediate TIFF
  rm "$tiff_file"

  echo "Converted: $filename"
done

echo "Batch conversion complete"
Pro Tip: If you need to preserve EXIF data (camera settings, GPS, timestamps), do not use the -strip flag. Instead, use ExifTool to selectively copy metadata after conversion: exiftool -TagsFromFile original.cr2 -All:All output.jpg. This gives you control over exactly which metadata fields to include.
Method 5: Python with rawpy (Programmable Pipeline)
For automated pipelines and custom processing:
import rawpy
import imageio
import os
import glob
from concurrent.futures import ProcessPoolExecutor

def convert_raw_to_jpg(raw_path, output_dir, quality=90):
    """Convert a single RAW file to JPG."""
    filename = os.path.splitext(os.path.basename(raw_path))[0]
    output_path = os.path.join(output_dir, f"{filename}.jpg")

    with rawpy.imread(raw_path) as raw:
        rgb = raw.postprocess(
            use_camera_wb=True,     # Use camera white balance
            half_size=False,         # Full resolution
            no_auto_bright=False,    # Auto brightness
            output_bps=8,           # 8-bit output for JPG
            output_color=rawpy.ColorSpace.sRGB,
        )

    imageio.imwrite(output_path, rgb, quality=quality)
    return output_path

def batch_convert(input_dir, output_dir, quality=90, workers=4):
    """Batch convert RAW files using multiprocessing."""
    os.makedirs(output_dir, exist_ok=True)

    raw_extensions = ["*.CR2", "*.cr2", "*.NEF", "*.nef",
                      "*.ARW", "*.arw", "*.DNG", "*.dng"]
    raw_files = []
    for ext in raw_extensions:
        raw_files.extend(glob.glob(os.path.join(input_dir, ext)))

    print(f"Found {len(raw_files)} RAW files")

    with ProcessPoolExecutor(max_workers=workers) as executor:
        futures = [
            executor.submit(convert_raw_to_jpg, f, output_dir, quality)
            for f in raw_files
        ]
        for future in futures:
            result = future.result()
            print(f"Converted: {result}")

# Usage
batch_convert("./raw_photos", "./jpg_output", quality=90, workers=8)
Method 6: Online Batch Conversion
For photographers who prefer a GUI-based approach without installing software, our image converter handles batch RAW to JPG conversion:
Upload multiple RAW files (CR2, NEF, ARW, DNG supported)
Select JPG as the output format
Adjust quality settings
Download all converted files as a ZIP archive
For individual files, the JPG converter provides quick conversion with quality control.
Performance: Conversion Speed Comparison
Batch conversion speed varies significantly by tool and hardware:
Tool
100 RAW Files (24 MP CR2)
CPU Usage
GPU Acceleration
Lightroom Classic
8-15 minutes
Multi-threaded
Yes (export)
darktable
10-20 minutes
Multi-threaded
Yes (OpenCL)
RawTherapee
12-25 minutes
Multi-threaded
No
dcraw + ImageMagick
15-30 minutes
Single-threaded (per file)
No
Python (rawpy, 8 workers)
5-12 minutes
Multi-process
No
ExifTool (embedded JPG extract)
1-2 minutes
Low
N/A
The fastest option -- extracting the embedded JPG preview -- deserves explanation. Every RAW file contains a full-size JPG preview generated by the camera. Extracting it skips all RAW processing:
# Extract embedded JPG from RAW files (fastest method)
exiftool -b -JpgFromRaw -w .jpg *.CR2

# Or for specific camera brands
exiftool -b -PreviewImage -w .jpg *.NEF
This produces camera-processed JPGs identical to what you would get shooting JPG in-camera. The quality is good but you lose the ability to adjust white balance, exposure, and other RAW-specific settings.
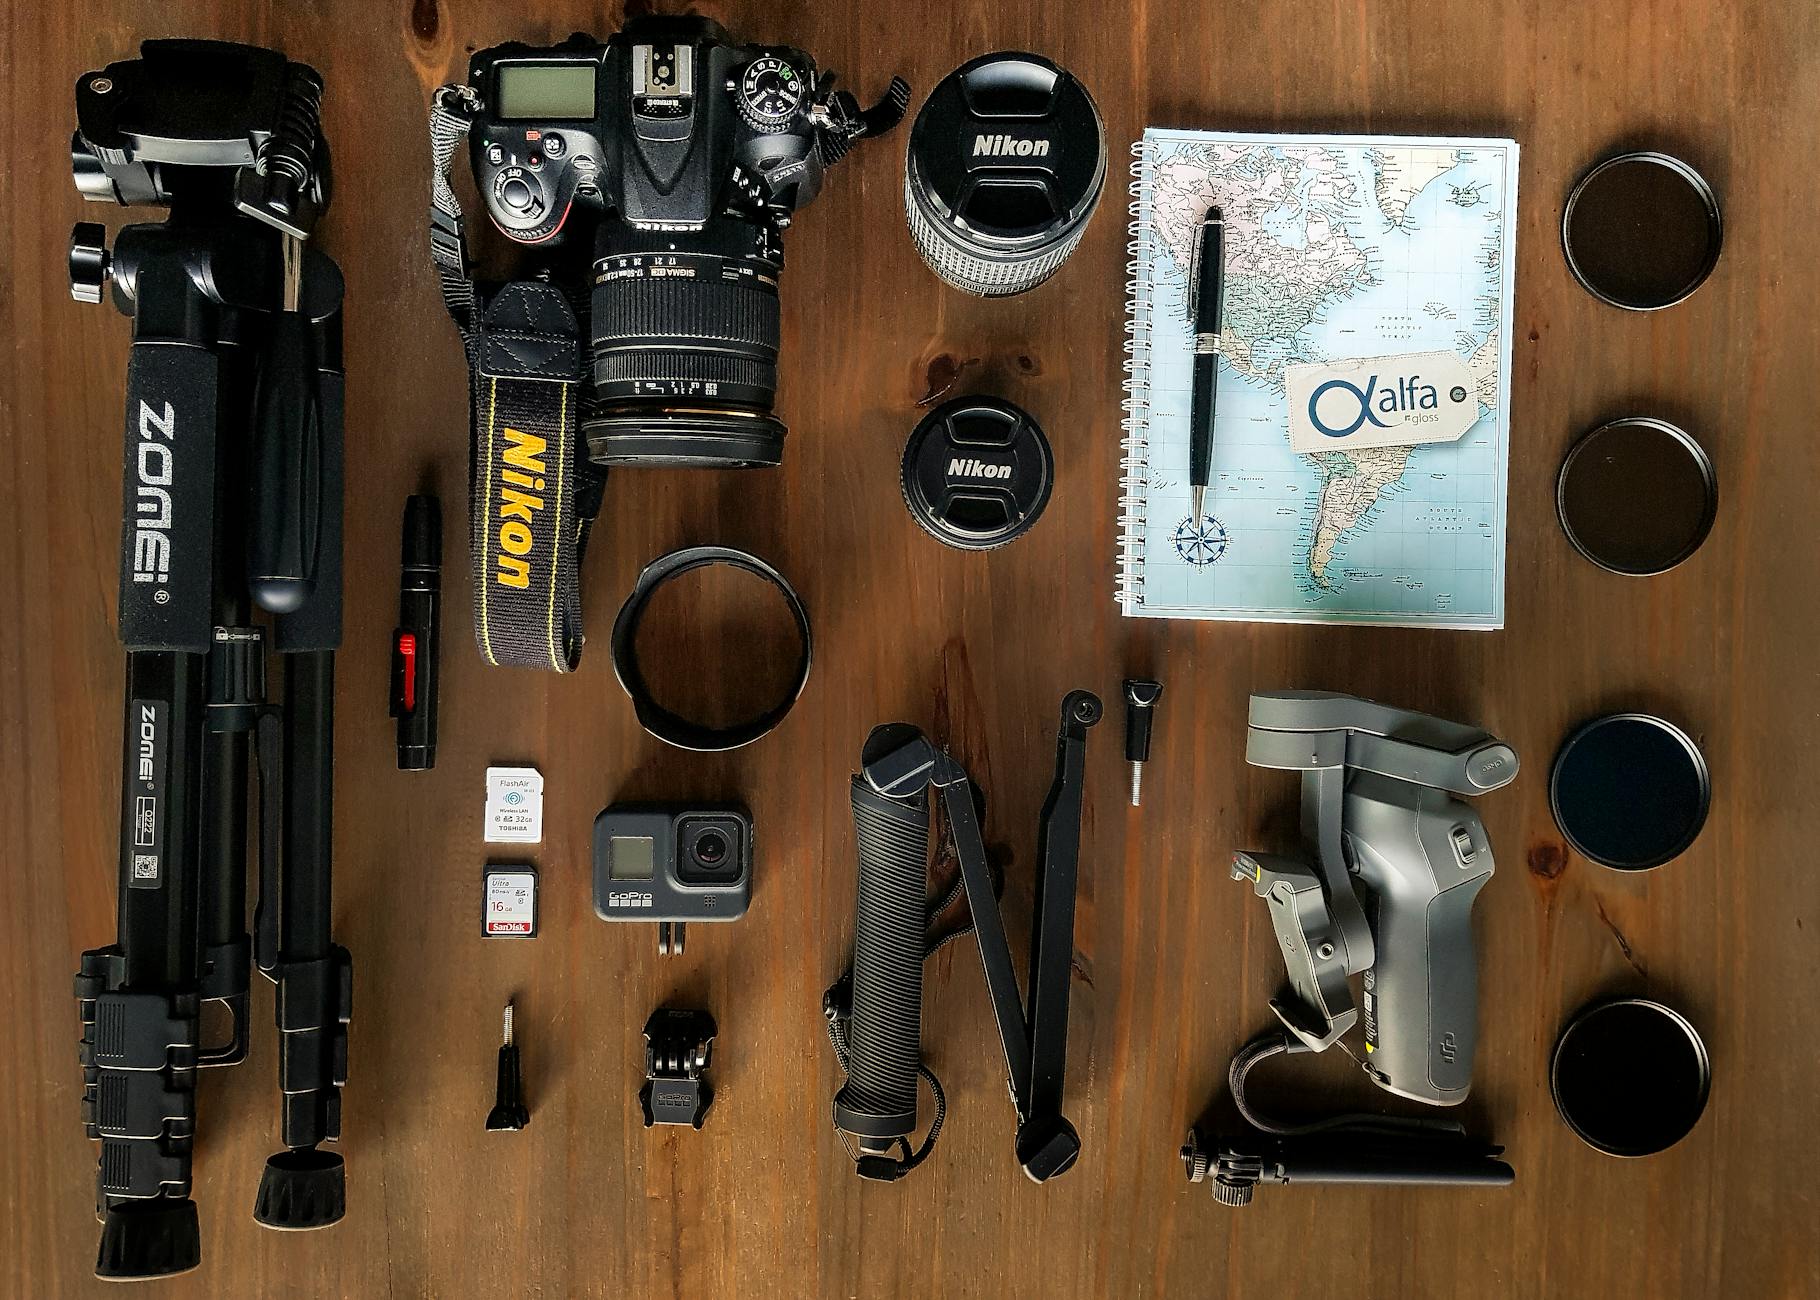
Performance comparison graph showing conversion speed across different tools
Preserving and Managing Metadata
EXIF Data Handling
RAW files contain extensive metadata. During conversion, decide what to preserve:
# Preserve all metadata during conversion
exiftool -TagsFromFile source.cr2 -All:All output.jpg

# Strip GPS data for privacy while keeping camera settings
exiftool -TagsFromFile source.cr2 -All:All -GPS:All= output.jpg

# Strip all metadata except copyright
exiftool -All= -TagsFromFile source.cr2 -Copyright output.jpg
Adding Copyright During Batch Conversion
# Add copyright to all converted JPGs
exiftool -Copyright="(c) 2026 Your Name" \
  -Artist="Your Name" \
  -overwrite_original ./output/*.jpg
Workflow Automation
Folder Watch (Auto-Convert on Import)
#!/bin/bash
# Watch for new RAW files and auto-convert
WATCH_DIR="/Volumes/Photos/Import"
OUTPUT_DIR="/Volumes/Photos/JPG"
QUALITY=90

fswatch -0 "$WATCH_DIR" | while read -d '' file; do
  ext="${file##*.}"
  ext_lower=$(echo "$ext" | tr '[:upper:]' '[:lower:]')

  if [[ "$ext_lower" =~ ^(cr2|cr3|nef|arw|dng|raf)$ ]]; then
    filename=$(basename "$file" ".$ext")
    darktable-cli "$file" "$OUTPUT_DIR/${filename}.jpg" \
      --width 4000 --hq true
    echo "Auto-converted: $file"
  fi
done
Lightroom Auto Import + Export
Configure Lightroom's Auto Import:
Edit > Auto Import Settings
Set a watched folder
Create an export preset that runs automatically via a Lightroom plugin
Common Mistakes
Mistake 1: Converting Without White Balance Correction
dcraw and basic converters use camera white balance by default, which may not be optimal. If your shots were taken under mixed lighting, batch converting without white balance adjustment produces inconsistent results. Use a tool that supports white balance presets or XMP sidecar files.
Mistake 2: Not Applying Output Sharpening
RAW files are inherently soft. Skipping sharpening produces JPGs that look noticeably less crisp than in-camera JPGs. Always apply output sharpening appropriate to the viewing medium.
Mistake 3: Using JPG Quality 100
Quality 100 produces files 3-5 times larger than quality 92 with no visible difference. The sweet spot for professional delivery is 90-95.
Mistake 4: Ignoring Color Space
Exporting in Adobe RGB for web delivery causes colors to appear desaturated in web browsers (which assume sRGB). Always use sRGB for web and social media delivery.
Summary
Batch RAW to JPG conversion is a core photography workflow. Choose your tool based on your needs: Lightroom Classic for integrated editing and export, darktable or RawTherapee for free alternatives, dcraw + ImageMagick for maximum control, or Python with rawpy for automated pipelines. Set quality to 85-95 depending on the delivery purpose, always use sRGB for web delivery, and apply output sharpening for crisp results.
If you need to resize your converted JPGs for specific platforms, use the resize image tool. For compressing the output files, the compress JPEG tool and image compressor offer fine-grained quality control. And if your workflow requires WebP output instead of JPG, convert the results using our WebP converter.
raw to jpgbatch conversionphotographycr2nefarwcamera raw
About the Author
Alex Thompson
Software engineer and content creator focused on web technologies, image optimization, and developer tooling.