How to Convert WAV to MP3: Preserve Quality at Smaller Sizes
Learn how to convert WAV to MP3 with optimal bitrate settings. Compare VBR vs CBR encoding, batch conversion methods, and metadata preservation for music, podcasts, and audio distribution.
Priya Patel·February 19, 2026·13 min read
Try these conversions
Free, in your browser — no signup, files auto-delete in 2 hours.
WAV files are the workhorses of audio production. They contain uncompressed PCM audio — every sample captured during recording, stored without any data removed. This is exactly what you want when recording, editing, mixing, and mastering. But WAV files are enormous. A 4-minute stereo track at CD quality (44.1 kHz, 16-bit) is roughly 40 MB. A 24-bit, 96 kHz recording of the same track exceeds 130 MB.
For distribution, sharing, uploading, and portable listening, those file sizes are impractical. MP3 solves this by compressing the audio to a fraction of the size — typically 3-10 MB for that same 4-minute track — while preserving audio quality that most listeners cannot distinguish from the original.
Converting WAV to MP3 is straightforward, but the details matter. The wrong bitrate wastes space or degrades quality. The wrong encoding mode produces inconsistent quality across the track. And losing metadata during conversion means your carefully tagged music library becomes an unorganized mess.
This guide covers everything: bitrate selection for different use cases, VBR versus CBR encoding, batch conversion workflows, metadata and ID3 tag handling, and how to avoid the common mistakes that degrade audio quality unnecessarily.
WAV to MP3 conversion process showing file size reduction
Why Convert WAV to MP3
The conversion from WAV to MP3 is lossy — the MP3 encoder permanently removes audio data that it determines is inaudible or less important. This is a one-way process. You cannot convert MP3 back to WAV and recover the lost data (the resulting WAV would simply be a larger file containing the same limited audio).
So why do it? Because the size reduction is dramatic and the quality preservation is remarkable:
Quality Level
Bitrate
File Size (4-min song)
Quality Description
WAV (original)
~1,411 kbps
40 MB
Perfect — uncompressed source
MP3 320 kbps
320 kbps
9.2 MB
Transparent — indistinguishable from WAV
MP3 256 kbps
256 kbps
7.3 MB
Excellent — artifacts only on edge cases
MP3 192 kbps
192 kbps
5.5 MB
Very good — most listeners satisfied
MP3 128 kbps
128 kbps
3.7 MB
Acceptable — noticeable artifacts on cymbals
MP3 96 kbps
96 kbps
2.7 MB
Low — audible artifacts, suitable for speech
MP3 64 kbps
64 kbps
1.8 MB
Poor — significant quality loss
A 320 kbps MP3 is 77% smaller than the WAV while being effectively indistinguishable in blind listening tests. For most people, this is an excellent trade-off. For a deep analysis of whether you can actually hear the difference, see our FLAC vs MP3 comparison.
Pro Tip: Always keep your original WAV files as masters. Convert to MP3 for distribution, but never delete the WAV originals. If you need to re-encode later (different bitrate, different format), encoding from the original WAV produces better results than re-encoding from an MP3. Lossy-to-lossy transcoding compounds quality loss.
Bitrate Selection Guide
Choosing the right bitrate is the single most important decision in WAV-to-MP3 conversion. Too low and quality suffers. Too high and you waste space without gaining perceptible quality.
Recommended Bitrates by Use Case
Use Case
Recommended Bitrate
Encoding Mode
Rationale
Music distribution (high quality)
320 kbps
CBR
Maximum MP3 quality, transparent
Music library (personal)
V0 (~245 kbps avg)
VBR
Near-transparent, smaller than 320
Podcast / spoken word
128 kbps mono
CBR
Speech needs less bandwidth
Audiobook
64-96 kbps mono
CBR or VBR
Spoken word at lower quality is fine
Background music
192 kbps
CBR or VBR
Good quality, reasonable size
Streaming preview
128 kbps
CBR
Acceptable quality, fast loading
Ringtone
192 kbps
CBR
Short duration, good quality
Voiceover / narration
128 kbps mono
CBR
Professional standard for speech
Understanding VBR Quality Presets
The LAME MP3 encoder (the gold standard for MP3 encoding) uses quality presets from V0 (highest) to V9 (lowest) for variable bitrate encoding:
VBR Preset
Average Bitrate
Quality
Use Case
V0
~245 kbps
Transparent
Music archival alternative to 320 CBR
V1
~225 kbps
Near-transparent
High-quality music distribution
V2
~190 kbps
Excellent
General purpose, good size-quality balance
V3
~175 kbps
Very good
Music where size matters
V4
~165 kbps
Good
Casual listening
V5
~130 kbps
Acceptable
Speech and simple music
V6
~115 kbps
Fair
Speech-only content
V7-V9
<100 kbps
Low
Not recommended for music
VBR vs CBR: Which Encoding Mode
MP3 encoding supports two fundamental approaches: Constant Bitrate (CBR) and Variable Bitrate (VBR). Understanding the difference helps you choose the right mode.
Constant Bitrate (CBR)
CBR allocates the same number of bits to every frame of audio, regardless of complexity. A silent passage gets 320 kbps. A dense orchestral crescendo also gets 320 kbps. This is wasteful during simple passages and potentially insufficient during complex ones.
Advantages:
Perfectly predictable file sizes
Guaranteed minimum quality for every frame
Best compatibility with all hardware players
Required by some streaming and broadcast systems
Disadvantages:
Wastes bits during simple audio passages
Cannot allocate extra bits to complex passages
Larger file sizes for equivalent perceptual quality
Variable Bitrate (VBR)
VBR analyzes each frame's complexity and allocates bits accordingly. Simple passages (silence, sustained notes) get fewer bits. Complex passages (cymbal crashes, dense mixes) get more bits. The result is better quality-per-byte.
Advantages:
Better quality at the same average file size
Efficient — no wasted bits on simple content
LAME VBR (V0-V2) is considered the gold standard for MP3 quality
Disadvantages:
File size is less predictable
Some older hardware players have VBR compatibility issues
Average bitrate varies by content (a spoken-word file may average much lower than music)
For music distribution, VBR V0 or CBR 320 kbps are both excellent choices. VBR V0 produces slightly smaller files with equivalent quality. CBR 320 offers absolute certainty about quality and compatibility. For detailed analysis of how bitrate affects perception, see our audio bitrate quality guide.
Pro Tip: If your files will be played on modern devices (smartphones, computers, streaming services), VBR V0 is the optimal choice. It produces smaller files than 320 kbps CBR with perceptually identical quality. Only use CBR 320 if you need guaranteed compatibility with older hardware or if a specific platform requires constant bitrate.
Converting WAV to MP3 with FFmpeg
FFmpeg with the LAME encoder (libmp3lame) produces the highest quality MP3 files. Here are commands for every common scenario.
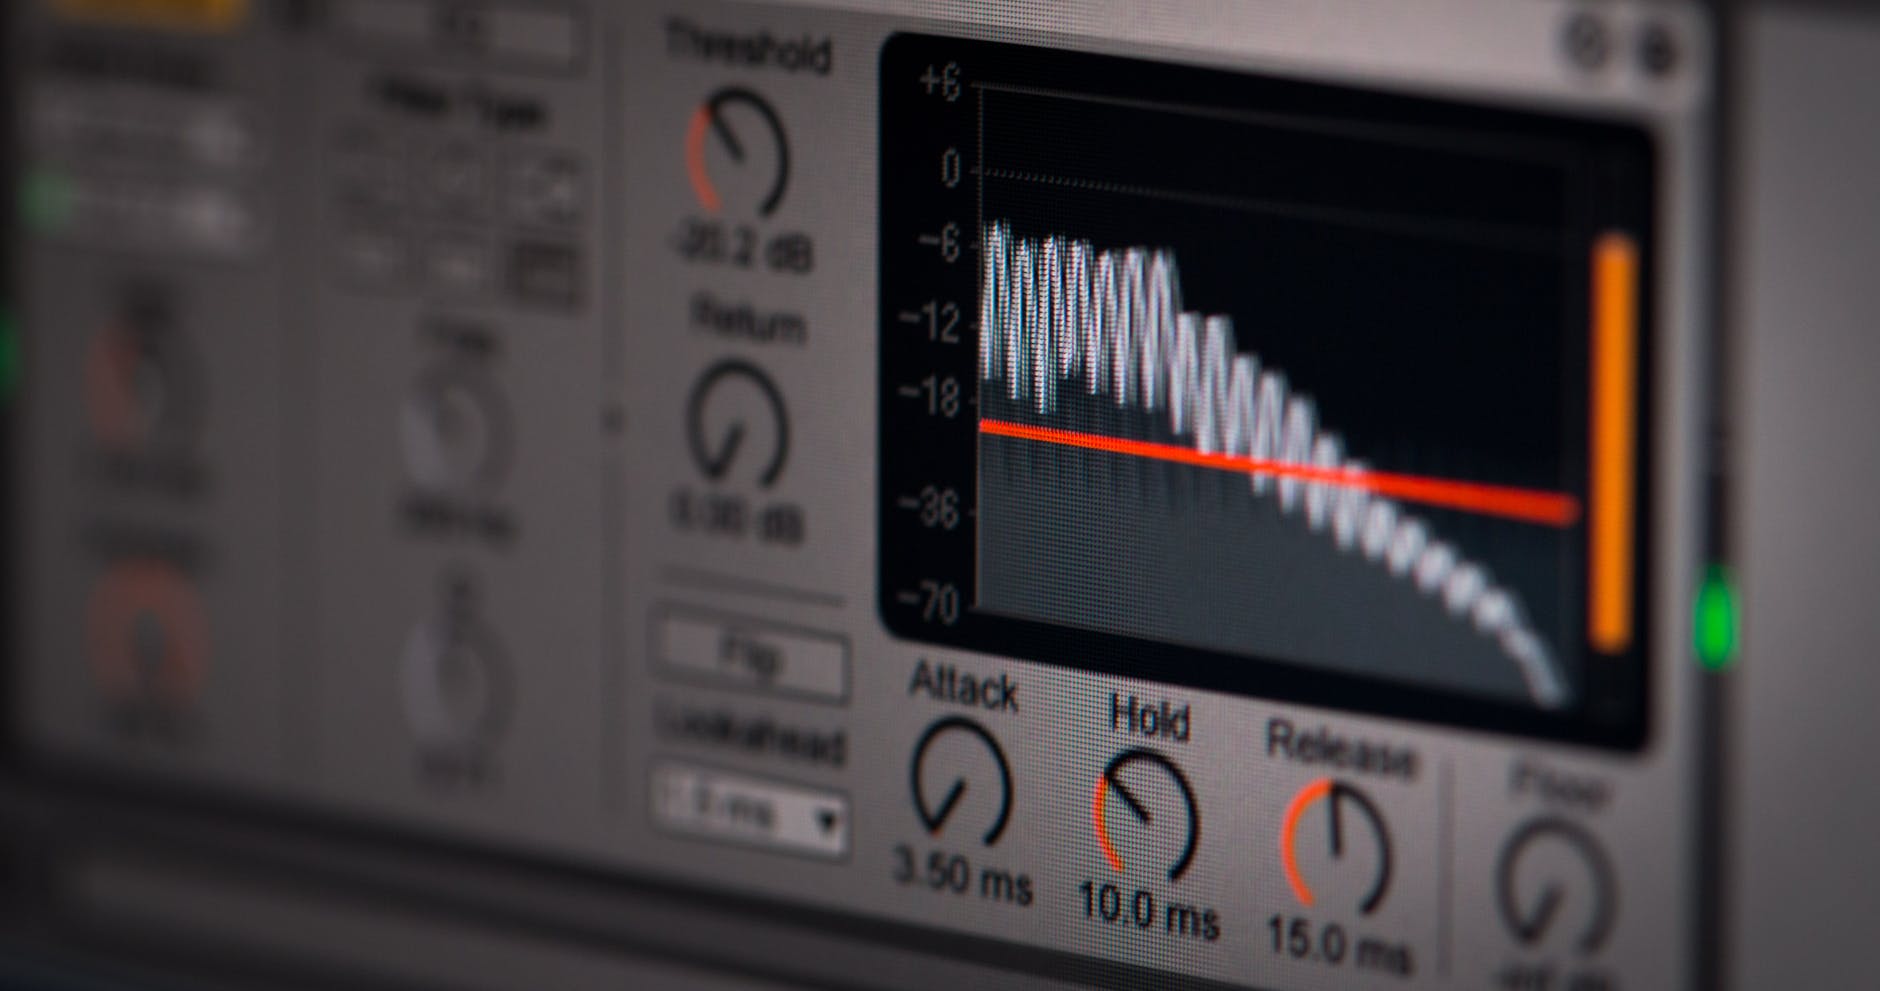
FFmpeg WAV to MP3 conversion with VBR and CBR settings comparison
Batch Conversion
Converting an entire album, audiobook, or recording session requires batch processing. Here are several approaches.
Bash Script (macOS/Linux)
#!/bin/bash
# Convert all WAV files in current directory to MP3 V0
for wav in *.wav; do
  filename="${wav%.wav}"
  ffmpeg -i "$wav" -c:a libmp3lame -q:a 0 "${filename}.mp3"
done
With Directory Structure Preservation
#!/bin/bash
# Convert all WAV files, preserving folder structure
find /path/to/music -name "*.wav" | while read wav; do
  mp3="${wav%.wav}.mp3"
  ffmpeg -i "$wav" -c:a libmp3lame -q:a 0 "$mp3"
done
Parallel Batch Conversion
For large collections, process multiple files simultaneously:
For users who prefer a visual interface, our audio converter and MP3 converter support batch WAV-to-MP3 conversion. Upload multiple WAV files, select your quality settings, and download the converted MP3s. For large batch operations, see our batch processing guide.
Metadata and ID3 Tags
MP3 files use ID3 tags to store metadata. There are two versions: ID3v1 (limited, 30-character fields) and ID3v2 (modern, supports album art, lyrics, and extensive metadata). FFmpeg writes ID3v2 tags by default.
Preserving Metadata from WAV
WAV files can contain metadata in several formats (RIFF INFO, BWF, iXML). FFmpeg preserves compatible metadata automatically:
At 320 kbps, the MP3 spectrogram should be nearly identical to the WAV, with frequency content preserved up to approximately 20 kHz. At lower bitrates, you will see the high-frequency rolloff characteristic of MP3 compression — a smooth cutoff at the top of the spectrum.
ABX Testing
The definitive way to test whether you can hear the difference is an ABX blind test. Tools like foobar2000 (with ABX Comparator plugin) let you switch between the WAV and MP3 without knowing which is which, then statistically evaluate whether your identifications are better than chance.
In controlled ABX tests, most listeners cannot reliably distinguish between a WAV and a 320 kbps MP3 (or VBR V0). This does not mean the difference does not exist — it means the difference is below the threshold of human perception for most content and listening conditions.
Common Mistakes to Avoid
Converting MP3 to WAV and Back
Some people convert MP3 to WAV "to improve quality" and then convert back to MP3. This is harmful — you end up with a larger file (the WAV) that contains the same degraded audio, and then a second round of lossy MP3 encoding that degrades it further. For understanding why this does not work, see our lossless vs lossy compression guide.
Using Outdated Encoders
The LAME encoder (libmp3lame) is the gold standard for MP3 encoding. FFmpeg uses it by default when available. Avoid using ancient or no-name MP3 encoders — the quality difference at the same bitrate can be significant. LAME has had decades of optimization and produces the best MP3 files of any encoder.
Choosing Bitrate Higher Than Source
If your WAV was originally encoded from a 128 kbps MP3 (for example, someone converted MP3 to WAV for editing), re-encoding at 320 kbps will not improve quality. The information was already lost during the initial MP3 encoding. The 320 kbps file will just be larger, not better.
Ignoring Channel Count
Converting a mono WAV to stereo MP3 doubles the file size without adding any actual stereo information — the same mono signal is duplicated in both channels. Conversely, converting stereo to mono halves the file size, which is perfect for speech but destructive for music with spatial mixing.
Alternative Formats to Consider
MP3 is the universal standard, but it is not always the best choice. Before converting, consider whether another format might serve you better:
AAC (M4A): Better quality than MP3 at the same bitrate, native support on Apple devices. Use the AAC converter.
Opus: The best lossy codec for quality-per-bit, but less universally supported. Excellent for web and streaming.
FLAC: Lossless compression — if you need to reduce WAV file size without any quality loss. Files are 50-60% smaller than WAV with zero audio degradation.
OGG Vorbis: Open-source alternative to MP3, good quality, less universal support. Use the OGG converter.
The bottom line: for maximum compatibility, MP3 remains king. Use 320 kbps CBR or VBR V0 for music, 128 kbps mono for speech, and keep your original WAV files as masters. Convert with the LAME encoder via FFmpeg for the best results, or use our WAV converter and MP3 converter for a streamlined online workflow.
WAV to MP3audio conversionbitrateVBRCBRID3 tagsbatch conversion
About the Author
Priya Patel
UX researcher and technical writer exploring document accessibility, font technology, and cross-platform compatibility.