How to Normalize Audio Volume: Fix Quiet or Loud Files
Learn how to normalize audio volume using peak normalization, RMS normalization, and EBU R128 loudness standards. Fix inconsistent volume levels across podcasts, music, videos, and audiobooks.
You are listening to a playlist and every track plays at a wildly different volume. The podcast episode is barely audible, the next song blasts your eardrums, and the audiobook chapter sits somewhere in between. You keep reaching for the volume knob. This is the problem audio normalization solves.
Audio files have inconsistent volumes because they come from different sources, recorded at different levels, mixed by different engineers, and mastered to different standards. A podcast recorded in a bedroom has a different average level than a commercially mastered pop track. A quiet classical recording has a different loudness profile than a hard-limited EDM track. Without normalization, your listening experience is an exercise in constant volume adjustment.
Normalization adjusts the volume of audio files to a consistent target level, so everything in your library — or everything in your podcast feed, or every clip in your video timeline — plays at roughly the same perceived loudness. This guide covers the three main approaches to normalization, when to use each, and the exact commands and tools to apply them.
Audio normalization types comparison
Three Types of Normalization
Not all normalization is created equal. The three approaches measure "volume" differently and produce very different results.
Method
What It Measures
Best For
Limitations
Peak Normalization
Highest sample value
Preventing clipping, maximizing headroom
Does not address perceived loudness
RMS Normalization
Average signal power
Matching average levels between files
Does not account for human hearing perception
Loudness Normalization (LUFS)
Perceived loudness (frequency-weighted)
Consistent listening experience across all content
Requires full-file analysis (two-pass)
Peak Normalization
Peak normalization finds the loudest single sample in the audio file and adjusts the entire file's gain so that peak reaches a target level (typically 0 dBFS or -1 dBFS).
How it works: If the loudest sample is at -6 dBFS and your target is -1 dBFS, the entire file is boosted by 5 dB. Every sample gets the same gain increase.
The problem: Peak normalization tells you nothing about perceived loudness. A file with one loud transient click and otherwise quiet content will be normalized to a low average volume. A heavily compressed (dynamically, not data-compressed) file with no peaks will be normalized to a loud average volume. Two peak-normalized files can sound completely different in volume.
# Peak normalize to -1 dBFS
ffmpeg -i input.wav -af "volume=replaygain=track" output.wav

# Or more precisely:
ffmpeg -i input.wav -af "loudnorm=I=-24:TP=-1:LRA=20:print_format=summary" -f null /dev/null
# Then apply the calculated gain
When to use peak normalization:
Before mastering (to set a consistent starting level)
To prevent clipping in a single file
When maximum volume without distortion is the only goal
RMS Normalization
RMS (Root Mean Square) normalization calculates the average power of the audio signal and adjusts gain so the average reaches a target level.
How it works: Instead of looking at the single loudest sample, RMS looks at the statistical average of all samples over the entire file (or a sliding window). This correlates better with perceived loudness than peak normalization, but it still does not account for the frequency-dependent sensitivity of human hearing.
# Normalize to a target RMS level
# First, measure the current RMS:
ffmpeg -i input.wav -af "volumedetect" -f null /dev/null 2>&1 | grep mean_volume

# Then adjust: if mean is -20 dB and target is -16 dB, add 4 dB
ffmpeg -i input.wav -af "volume=4dB" output.wav
When to use RMS normalization:
Quick level matching between a few files
Legacy workflows that predate LUFS standards
Simple use cases where "close enough" is acceptable
Loudness Normalization (LUFS/LKFS)
Loudness normalization is the modern standard. It uses the LUFS (Loudness Units relative to Full Scale) measurement, which applies frequency weighting (K-weighting) that models how human hearing perceives loudness at different frequencies. The result correlates strongly with how loud a listener actually perceives the audio, regardless of its frequency content.
LUFS accounts for the fact that humans are more sensitive to mid-range frequencies (2-5 kHz) and less sensitive to very low or very high frequencies. A deep bass drone at -6 dBFS does not sound as loud as a voice at -6 dBFS, and LUFS captures this difference.
The EBU R128 standard specifies:
Integrated Loudness (I): Target level in LUFS, measured over the entire program
True Peak (TP): Maximum inter-sample peak level in dBTP
Loudness Range (LRA): The statistical spread of loudness throughout the program, in LU
Pro Tip: Always use the two-pass loudnorm approach for critical work. The single-pass mode analyzes and adjusts in real time, which means it cannot know the loudness of the entire file when processing the beginning. This can result in slightly inaccurate normalization. Two-pass mode scans the entire file first, then applies precise gain adjustment.
Platform-Specific Loudness Targets
Different platforms have adopted different LUFS targets. Normalizing to the wrong target means the platform will either turn your audio down (if too loud) or leave it quieter than other content (if too quiet).
#!/bin/bash
# Normalize all MP3 files in a directory to -16 LUFS
for file in /path/to/audio/*.mp3; do
  filename=$(basename "$file" .mp3)
  ffmpeg -i "$file" -af loudnorm=I=-16:TP=-1:LRA=11 \
    -c:a libmp3lame -b:a 320k \
    "/path/to/normalized/${filename}_normalized.mp3"
done
Normalizing Audio Within Video
# Normalize audio in a video file without re-encoding video
ffmpeg -i input.mp4 -c:v copy -af loudnorm=I=-14:TP=-1:LRA=11 -c:a aac -b:a 256k output.mp4
This re-encodes only the audio track while copying the video stream through unchanged. For more on working with audio in video files, see our guide on how to extract audio from video.
FFmpeg loudness normalization workflow
Using the Online Converter
If you prefer not to use command-line tools, our audio converter supports loudness normalization directly in the browser. Upload your file, select your target format and quality, and the normalization is applied automatically. For specific format needs, use our MP3 converter, WAV converter, or AAC converter.
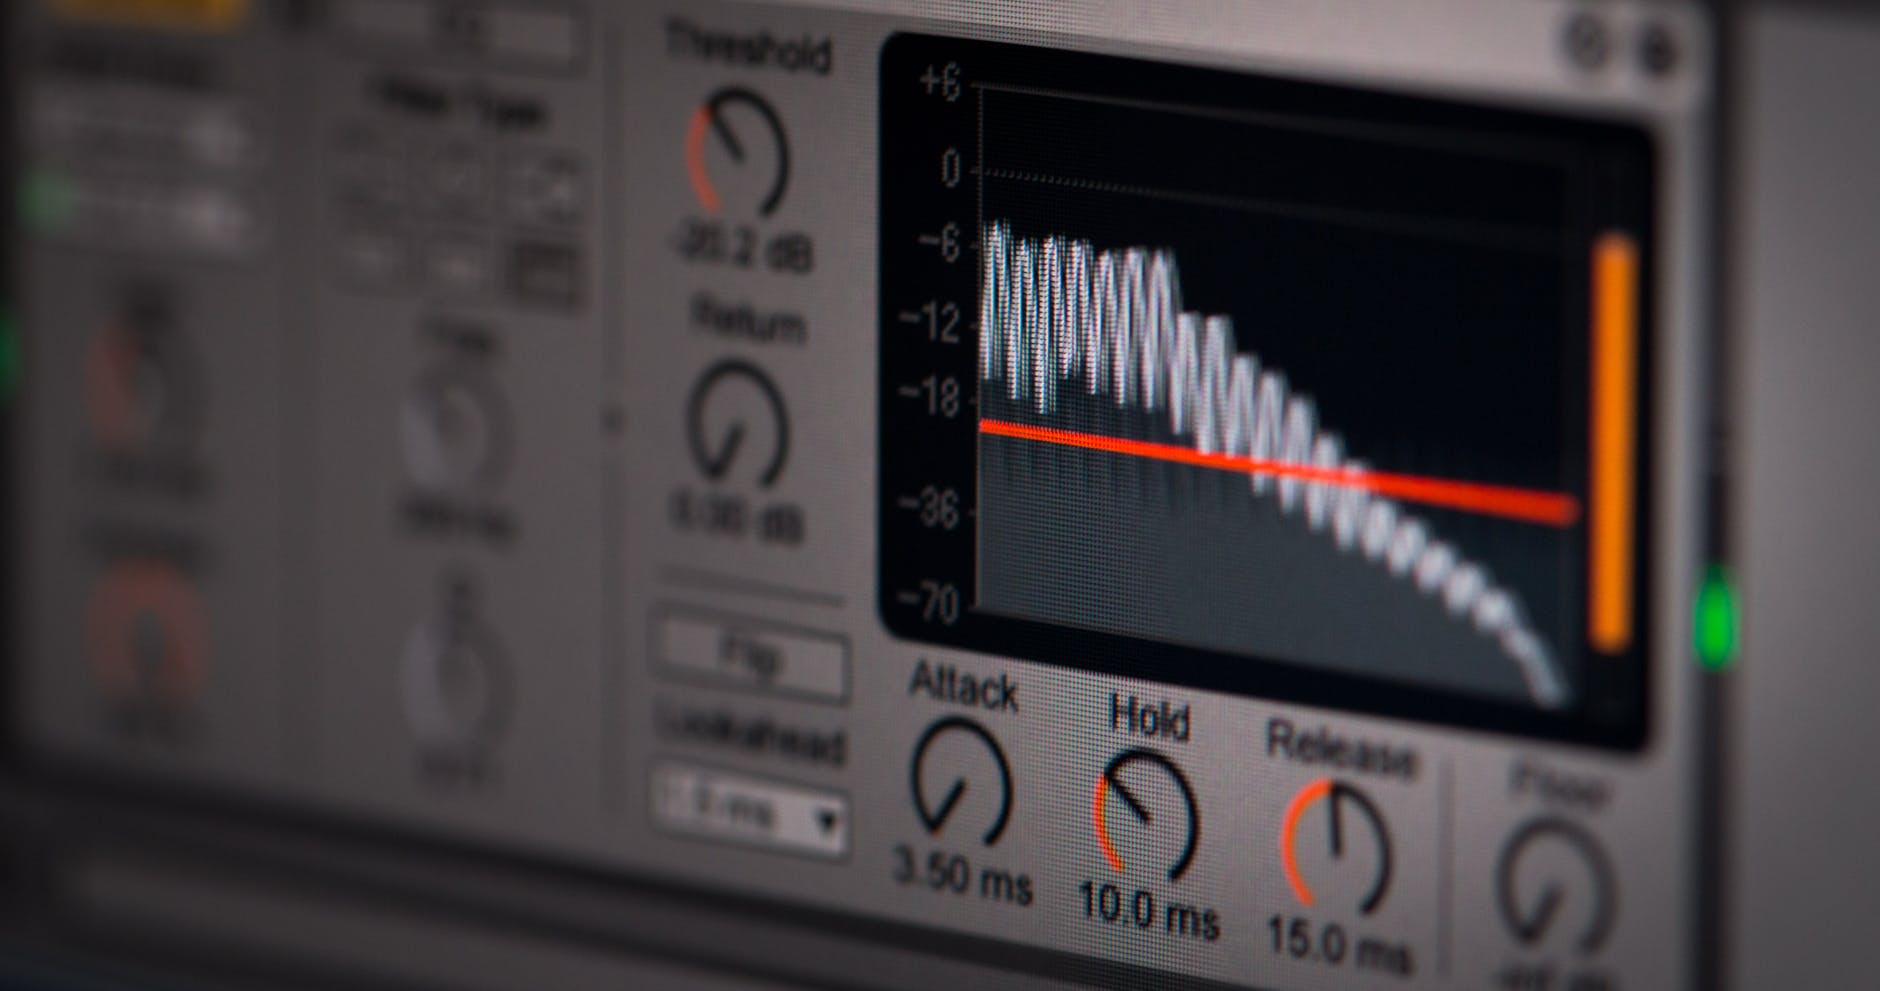
Normalization vs. Compression vs. Limiting
These three processes are often confused but serve different purposes:
Normalization adjusts the overall gain of the entire file by a constant amount. It makes the whole file louder or quieter uniformly. The dynamic range (difference between quiet and loud parts) is preserved. A whisper and a shout will both get louder by the same amount.
Dynamic range compression reduces the difference between quiet and loud parts. It makes loud parts quieter (or quiet parts louder, or both). This changes the character of the audio — heavily compressed audio sounds "squashed" or "punchy" compared to the original. Radio stations apply aggressive compression to maintain a consistent loudness over the air.
Limiting is extreme compression that prevents the signal from exceeding a hard ceiling. A limiter at -1 dBTP allows all audio below that level to pass through unchanged but prevents anything from exceeding it. This is used as a safety measure to prevent clipping.
For most normalization tasks, you should normalize first, then limit if needed:
# Normalize then limit to prevent clipping
ffmpeg -i input.wav -af "loudnorm=I=-16:TP=-1.5:LRA=11,alimiter=limit=-1dB:level=false" -c:a pcm_s16le output.wav
Pro Tip: If you are normalizing a podcast or audiobook with wide dynamic range (quiet sections and loud sections), apply gentle compression before normalization. This brings the quiet parts closer to the loud parts, and then normalization brings everything to the target level. The result is a more consistent listening experience without the volume jumps that make listeners constantly adjust their volume. Our best audio format for audiobooks guide covers the ideal settings for speech content.
ReplayGain: Non-Destructive Normalization
ReplayGain is a metadata-based normalization system. Instead of modifying the audio data, it analyzes each file and writes a gain adjustment tag into the metadata. Compatible players read this tag and adjust playback volume accordingly.
Advantages:
Non-destructive — the original audio is never modified
Reversible — remove the tag and the audio plays at its original volume
Album mode — can normalize per-album (preserving intentional volume differences between tracks) or per-track
How to apply ReplayGain:
# Using loudgain (recommended)
loudgain -s e *.mp3

# Using mp3gain (older but widely used)
mp3gain -r *.mp3

# Using ffmpeg to calculate (manual application)
ffmpeg -i input.mp3 -af "replaygain" -f null /dev/null
ReplayGain is ideal for personal music libraries where you want consistent playback volume without altering your files. Most modern music players — foobar2000, Musicbee, Poweramp, VLC, AIMP — support ReplayGain tags.
Common Normalization Scenarios
Scenario 1: Podcast Episodes at Different Volumes
Multiple episodes recorded at different levels, or guest interviews where the host and guest have different volumes.
Solution: Normalize all episodes to -16 LUFS (the podcast standard). Apply per-file loudnorm:
A playlist where classical recordings are too quiet and pop tracks are too loud.
Solution: Apply ReplayGain to your entire library. This normalizes playback volume without modifying the files. For distribution (uploading to a platform), normalize to that platform's LUFS target.
Scenario 3: Video Dialogue Too Quiet, Effects Too Loud
Movie audio where you cannot hear dialogue but explosions shake the room.
Solution: Apply dynamic range compression before normalization:
-16 LUFS: Apple Music/podcast target (comfortable loudness)
-23 LUFS: European broadcast standard (quieter, wide dynamic range)
-30 LUFS: Very quiet (classical music, ambient recordings)
The louder your audio, the less dynamic range it typically has. A track at -8 LUFS has been heavily compressed to achieve that loudness, meaning the difference between its quiet and loud moments is small. A track at -23 LUFS likely has wide dynamics — genuine quiet moments and genuine loud moments.
Mistakes to Avoid
Mistake 1: Normalizing Already-Normalized Files
Re-normalizing a file that has already been normalized is unnecessary and can introduce subtle artifacts (especially with single-pass loudnorm, which may slightly alter the tonal balance). Normalize once and track which files have been processed.
Mistake 2: Using Peak Normalization for Loudness Matching
Peak normalization does not produce consistent perceived loudness. Two files peak-normalized to 0 dBFS can have wildly different loudness. Always use LUFS-based normalization for loudness consistency.
Mistake 3: Normalizing to 0 dBFS
Normalizing peaks to 0 dBFS leaves no headroom. If you later encode to a lossy format (MP3, AAC), the transcoding process can introduce inter-sample peaks that exceed 0 dBFS, causing clipping. Always leave at least 1 dB of headroom.
Mistake 4: Ignoring the Source Quality
Normalization cannot fix fundamentally bad audio. If a recording is noisy, distorted, or heavily clipped, boosting its volume to match other files will only amplify those problems. Clean up the audio before normalizing. Our guide on how to trim audio files can help with removing problem sections.
Frequently Asked Questions
Does normalization reduce audio quality?
If done correctly, the quality impact is negligible. Loudness normalization applies a constant gain adjustment — mathematically equivalent to turning a volume knob. The only quality concern is when boosting very quiet audio, which also boosts the noise floor. If your source audio has a good signal-to-noise ratio, normalization has no audible quality impact.
Should I normalize before or after applying effects?
Normalize after all other processing (EQ, compression, reverb, etc.) is complete. Normalization should be the final step in your chain, ensuring the output meets your target loudness regardless of what the effects did to the level.
What is the difference between LUFS and LKFS?
They are the same measurement. LUFS (Loudness Units relative to Full Scale) is the European term (EBU R128 standard). LKFS (Loudness, K-weighted, relative to Full Scale) is the American term (ATSC A/85 standard). -14 LUFS and -14 LKFS are identical values.
Can I undo normalization?
If you used destructive normalization (modifying the audio file), you cannot undo it without the original file. This is why ReplayGain (non-destructive, metadata-based) is preferred for personal libraries. For files you have normalized destructively, keep backups of the originals.
Should I normalize my entire music library?
For playback consistency, yes — using ReplayGain tags (non-destructive). For distribution or uploading to platforms, normalize each file to the platform's target LUFS. But never permanently modify your master/archive files. Normalize copies, not originals. Use our FLAC converter or audio converter to create normalized copies while preserving your originals.
audio normalizationloudnessLUFSvolumeEBU R128dynamic range
About the Author
Michael Rodriguez
Video production expert covering codec standards, streaming formats, and professional post-production pipelines.