Learn how to trim audio files with lossless MP3 cutting, FFmpeg commands, and online tools. Cut audio for ringtones, podcast editing, sample extraction, and more with step-by-step instructions.
Sarah Chen·February 19, 2026·11 min read
Try these conversions
Free, in your browser — no signup, files auto-delete in 2 hours.
Trimming audio is one of the most common editing tasks. You recorded a podcast and need to cut the first 30 seconds of silence and chatter before the intro. You want a 30-second clip from a song as a ringtone. You need to extract a specific quote from a 2-hour interview for a presentation. You downloaded a sound effect that has 5 seconds of silence at the tail that you need to remove.
The tool you use and the method you choose matter more than you might think. Trimming an MP3 file incorrectly re-encodes the entire track, introducing a generation of lossy compression artifacts. Trimming without considering frame boundaries produces glitches at the cut points. And trimming without proper fade-in/fade-out creates harsh pops and clicks.
This guide covers every trimming scenario: lossless MP3 cutting, FFmpeg-based precision trimming for any format, online tools for quick cuts, and specialized workflows for ringtones, podcast editing, and sample extraction.
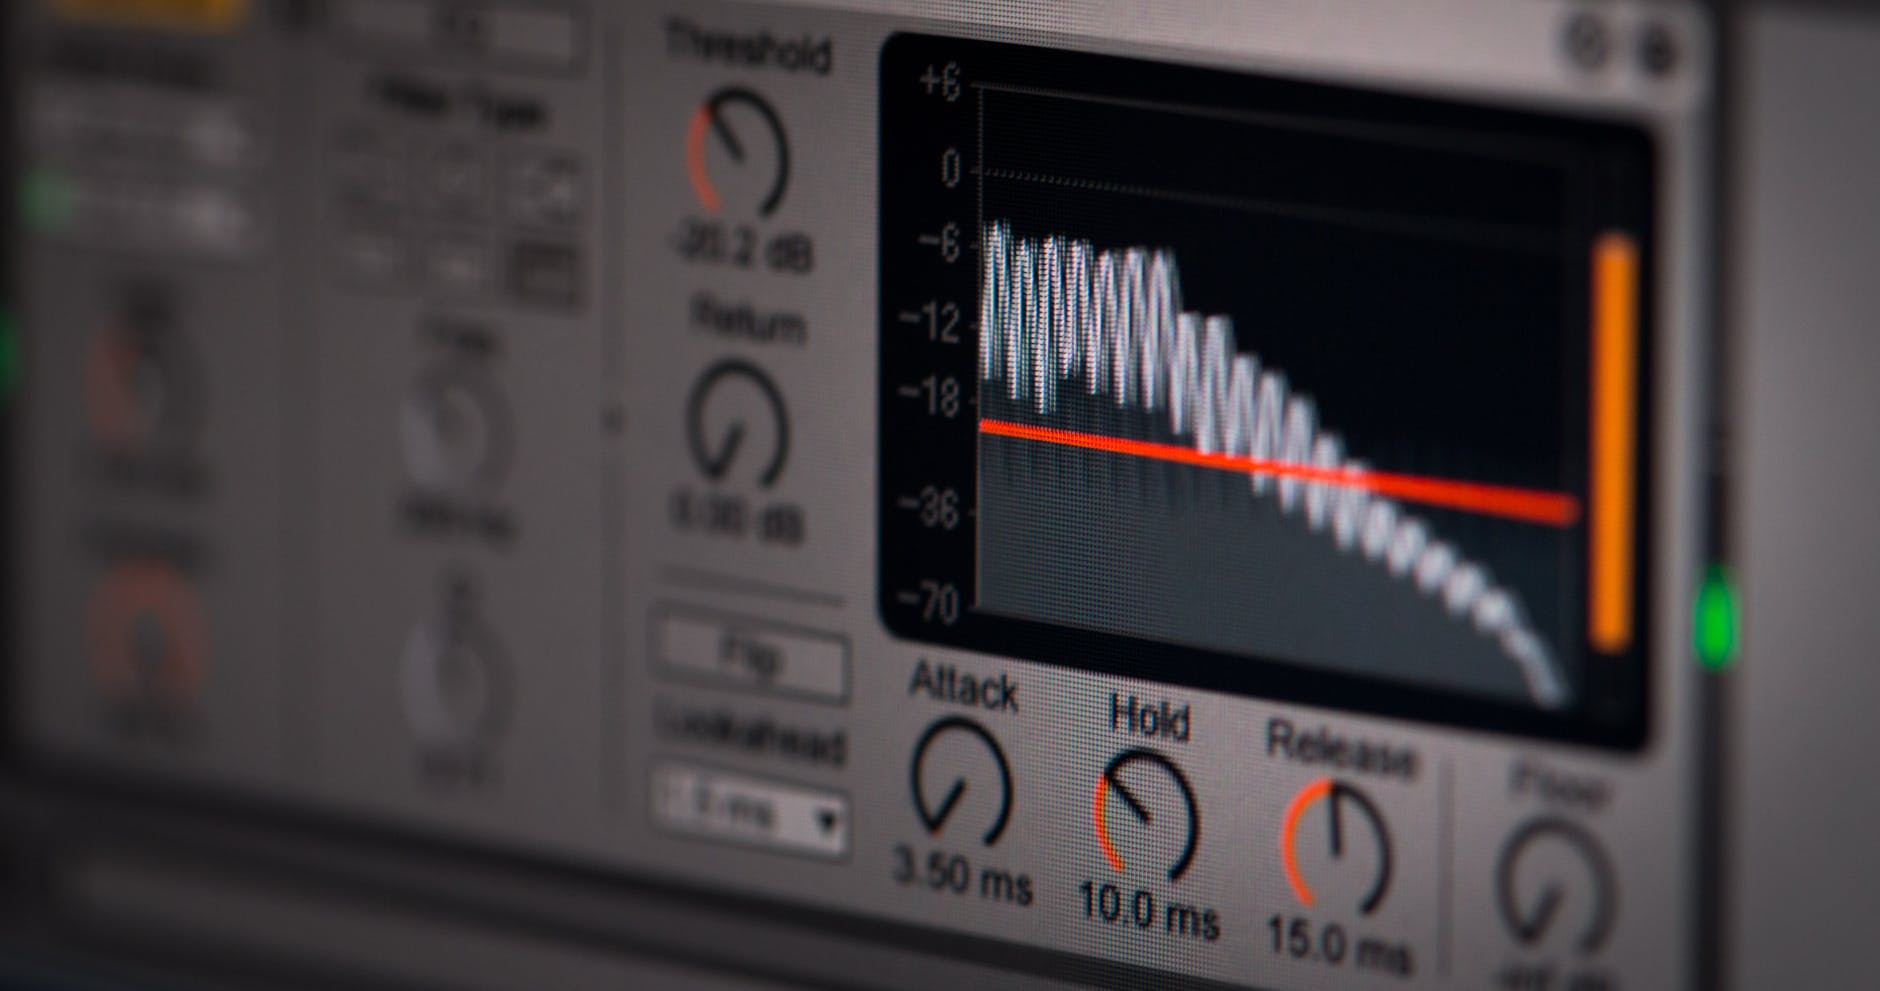
Audio waveform with trim points marked for cutting
Lossless MP3 Trimming
MP3 files are divided into frames, each containing a fixed duration of audio (typically 26 milliseconds for 44.1 kHz). Because MP3 is a lossy format, re-encoding introduces additional quality loss. The ideal approach is to trim without re-encoding — cutting at frame boundaries so the audio data is never decoded and re-encoded.
Why Lossless Cutting Matters
When you trim an MP3 in a regular audio editor (Audacity, GarageBand, etc.), the editor:
Decodes the MP3 to raw PCM audio
Cuts the PCM audio at the desired point
Re-encodes the trimmed PCM back to MP3
Step 3 is the problem. Every MP3 encoding pass permanently removes audio data. Re-encoding an already-lossy MP3 compounds the loss. The result is measurably (and sometimes audibly) worse than the original.
Lossless MP3 cutting skips the decode/re-encode cycle entirely. It identifies the MP3 frames that fall within your desired time range and copies them directly. The audio data is never touched — it is bit-for-bit identical to the corresponding segment of the original file.
Lossless MP3 Cutting with FFmpeg
FFmpeg's -c copy flag enables lossless stream copying:
# Cut from 0:30 to 3:45 without re-encoding
ffmpeg -i input.mp3 -ss 00:00:30 -to 00:03:45 -c copy output.mp3
This copies the MP3 frames within the specified range. The cut points may be adjusted slightly (up to ~26ms) to align with frame boundaries, but the audio quality is perfectly preserved.
Precise vs Fast Seeking
FFmpeg supports two seeking modes:
# Input seeking (fast, may be slightly imprecise for MP3)
ffmpeg -ss 00:00:30 -i input.mp3 -to 00:03:15 -c copy output.mp3

# Output seeking (slower, more accurate)
ffmpeg -i input.mp3 -ss 00:00:30 -to 00:03:45 -c copy output.mp3
When -ss comes before -i, FFmpeg seeks in the input stream — faster but may land on the nearest keyframe rather than the exact timestamp. When -ss comes after -i, FFmpeg decodes from the beginning and starts output at the precise position — slower but more accurate.
For lossless MP3 cutting, the difference is minimal (at most one frame, ~26ms). For precise editing requirements, use output seeking.
Pro Tip: When you need frame-accurate cutting in MP3 without re-encoding, the maximum timing error is one MP3 frame (about 26 milliseconds). This is imperceptible for virtually all use cases. Only re-encode if you need sample-accurate precision, and if you do, encode from the original lossless source rather than from the MP3.
Trimming Any Audio Format with FFmpeg
FFmpeg handles trimming for every audio format. The basic syntax is the same:
Basic Trim Commands
# Trim WAV from 1:00 to 2:30
ffmpeg -i input.wav -ss 00:01:00 -to 00:02:30 -c copy output.wav

# Trim FLAC (lossless, no re-encoding needed)
ffmpeg -i input.flac -ss 00:01:00 -to 00:02:30 -c copy output.flac

# Trim AAC/M4A
ffmpeg -i input.m4a -ss 00:01:00 -to 00:02:30 -c copy output.m4a

# Trim OGG Vorbis
ffmpeg -i input.ogg -ss 00:01:00 -to 00:02:30 -c copy output.ogg
Hard cuts at trim points can produce audible pops or clicks, especially if the trim point falls mid-waveform. Adding a short fade eliminates this artifact.
Fade In and Fade Out
# Trim with 0.5-second fade in and 1-second fade out
ffmpeg -i input.mp3 -ss 00:01:00 -to 00:03:00 \
  -af "afade=t=in:d=0.5,afade=t=out:st=119:d=1" \
  -c:a libmp3lame -b:a 320k output.mp3
Note: Adding fades requires re-encoding because the audio data is being modified. Use the highest quality settings to minimize quality loss. The st parameter in the fade-out filter is the start time (relative to the output) of the fade.
Crossfade Between Segments
When joining trimmed segments, a crossfade creates a smooth transition:
This creates a 2-second crossfade using a triangular curve. For podcast editing, a 0.5-1 second crossfade sounds natural for speech transitions.
Audio editor showing fade-in and fade-out applied to a trimmed clip
Trimming Audio for Ringtones
Creating ringtones requires specific formatting for iOS and Android.
iPhone Ringtone (M4R Format)
iPhone ringtones use the M4R format (AAC audio in an M4A container, renamed to .m4r). Maximum duration is 30 seconds for ringtones and 40 seconds for alert tones.
Pro Tip: Choose a ringtone segment that starts with a distinctive sound — something you will recognize immediately even in a noisy environment. Avoid segments that start softly and build gradually, as you may miss the beginning of the ring. The best ringtone clips start with a strong, recognizable musical phrase.
Podcast Editing with Audio Trimming
Podcast editing often involves trimming multiple files and combining segments. Here are common podcast trimming workflows.
This filter removes silence from both the beginning and end. The threshold (-40dB) determines what counts as "silence" — adjust if your recording has low-level background noise.
This outputs timestamps where silence occurs (silence longer than 2 seconds at less than -30dB). You can use these timestamps to split the recording at natural pause points.
Concatenate Trimmed Segments
After editing individual segments, join them into the final episode:
Podcast editing workflow showing segment trimming and concatenation
Online Audio Trimming
For quick trims without installing software, ConvertIntoMP4's audio converter supports trimming during conversion. Upload your audio file, set the start and end times, select your output format, and download the trimmed result.
This is particularly useful when you also need to convert formats — for example, trimming a WAV file and converting to MP3 simultaneously, or extracting a segment from a FLAC file and exporting as AAC.
This trims the first 300 seconds (5:00) and everything after 315 seconds (5:15), then concatenates them. Note that this requires re-encoding because the audio data is being modified.
Trimming Tips and Best Practices
Common Timing Formats
FFmpeg accepts several time formats:
Format
Example
Description
HH:MM:SS
01:23:45
Hours, minutes, seconds
HH:MM:SS.mmm
01:23:45.500
With milliseconds
Seconds
5025.5
Total seconds (decimal)
Duration
60
Duration in seconds (with -t flag)
Avoid Common Mistakes
Do not re-encode when unnecessary. Always use -c copy unless you need to modify the audio (fades, volume, format change).
Test trim points before processing. Play the file at your intended start and end times before running the command.
Preserve metadata. Add -map_metadata 0 to carry over metadata from the input file.
Use the right format for the job. For intermediate editing, use WAV or FLAC. For final distribution, use MP3 or AAC. For the full comparison, see our FLAC vs MP3 guide.
Back up originals. FFmpeg's output flag (-y) overwrites existing files without warning. Never use the same filename for input and output.
Whether you are cutting ringtones, editing podcasts, extracting samples, or trimming voice recordings, the key is to preserve quality by avoiding unnecessary re-encoding. Use -c copy for lossless cuts, add short fades to prevent click artifacts, and choose the right output format for your distribution needs. For batch operations, combine trimming with our batch processing guide for maximum efficiency.
trim audiocut MP3audio editingringtonepodcast editingFFmpeg audiolossless cutting
About the Author
Sarah Chen
Technical writer specializing in multimedia formats and digital workflows. Covers file conversion, video encoding, and document processing.